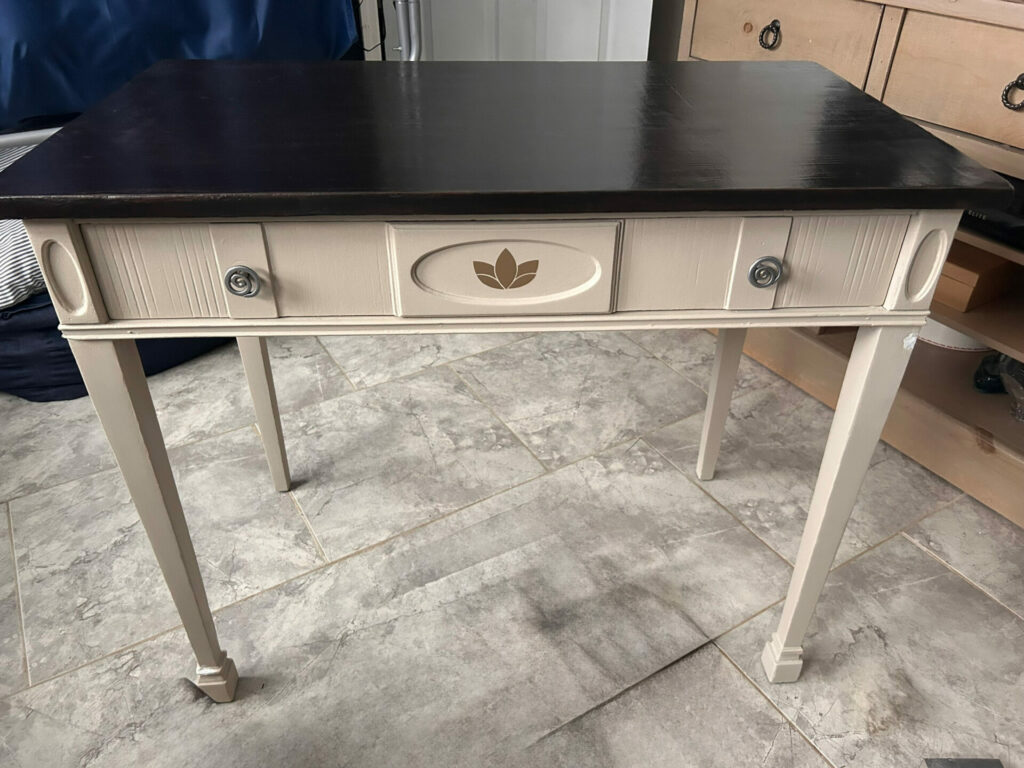
Wallace has arrived at Hudson River Homesteaders and is available for purchase!
The images on this post take you through his story. I don’t know what happened to him before he came into my life, but this once-handsome console table or desk was in rough shape. So the day I bought him, I was in a sad mood as my son’s travel basketball team had just lost their first and last Championship game of the weekend. This meant they were suddenly done when we all thought they had a couple more games to go. I was feeling low, it was raining, and there was just an overall gloom to the day. My husband decided to take my son out for food, so I thought I would lift my own spirits with some furniture shopping therapy! So I headed to the ReStore and there was Wallace with almost a little smile on his face (see this picture – looks like a smile, right?)….
Sitting at the Albany Habitat for Humanity ReStore, Wallace was just begging me to buy him in so many ways. I absolutely loved the detail on the front of the drawer, on either side of the drawer, and at the base of the front legs. My favorite feature, however, were the seemingly handmade silver drawer pulls – they were not uniform and in such a unique design that I immediately knew they would stay with the piece. So I spent the $55 and brought this table home – that is a lot for me to spend on a single ReStore item, but I felt that Wallace was worth it!
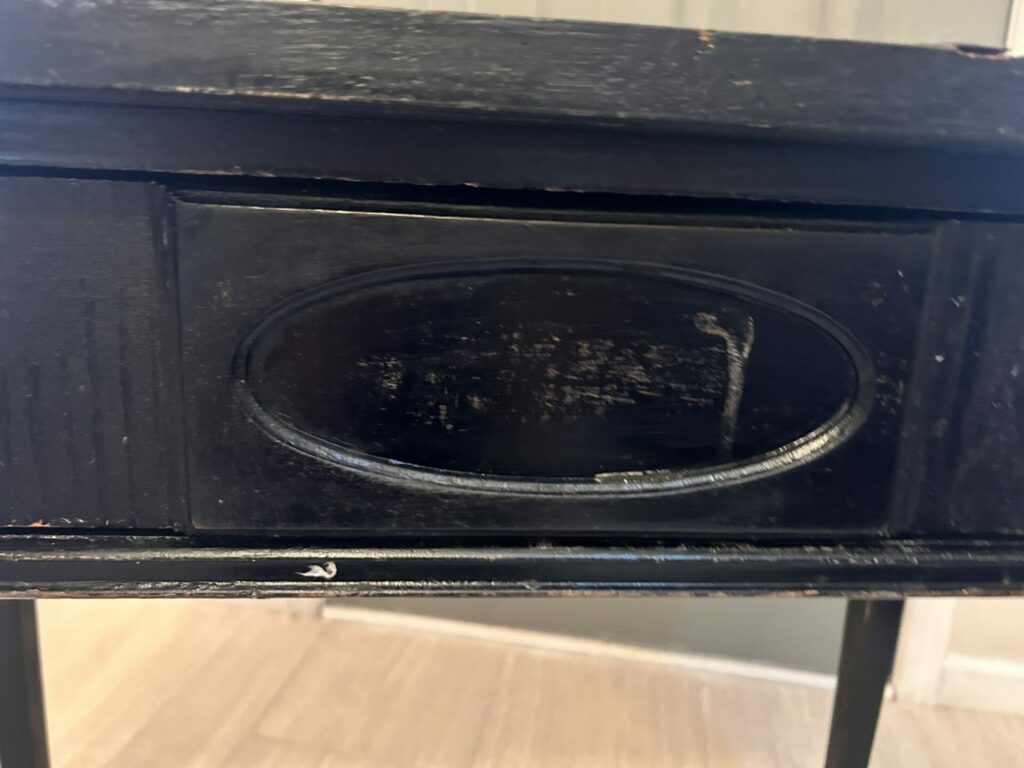
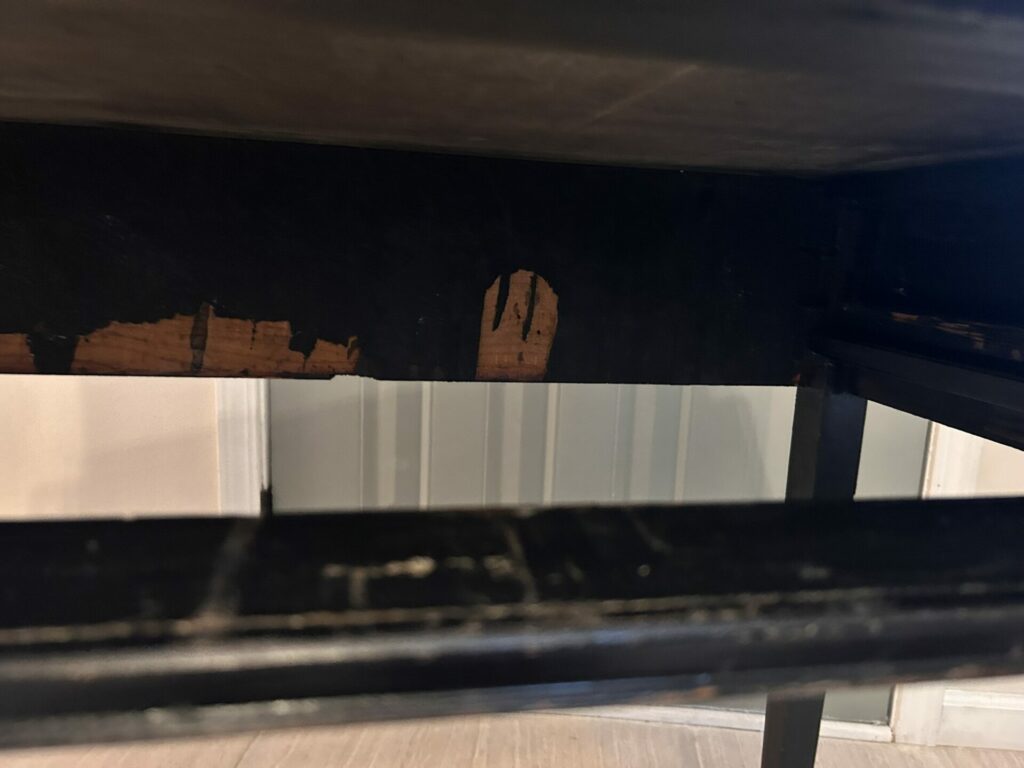
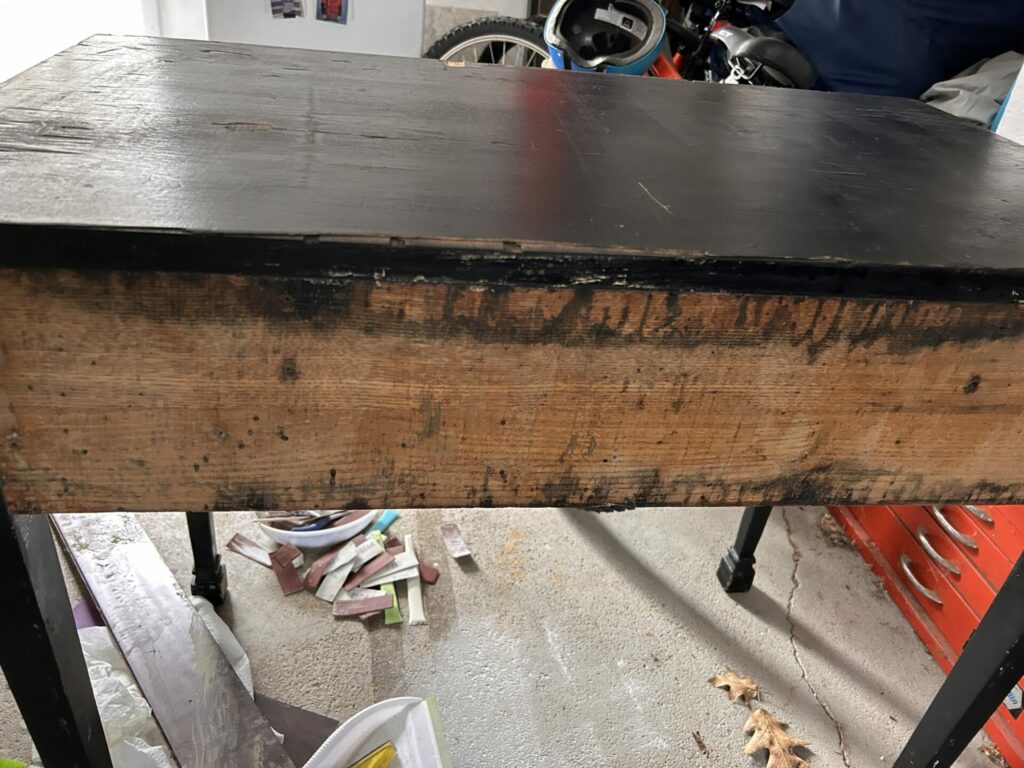
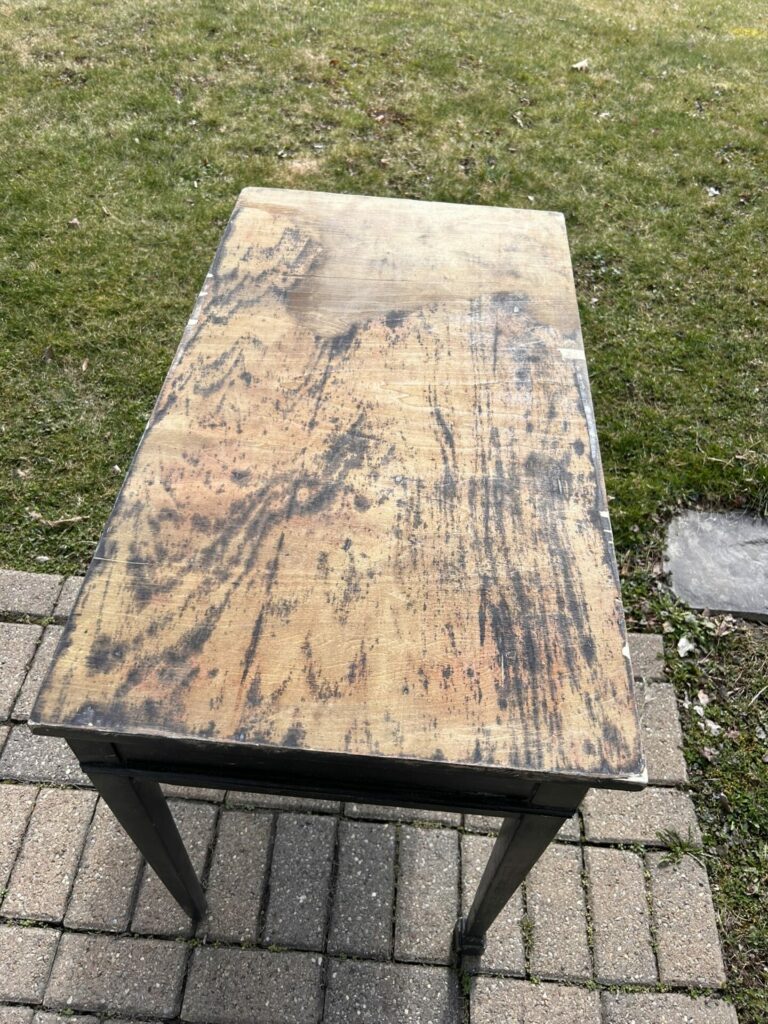
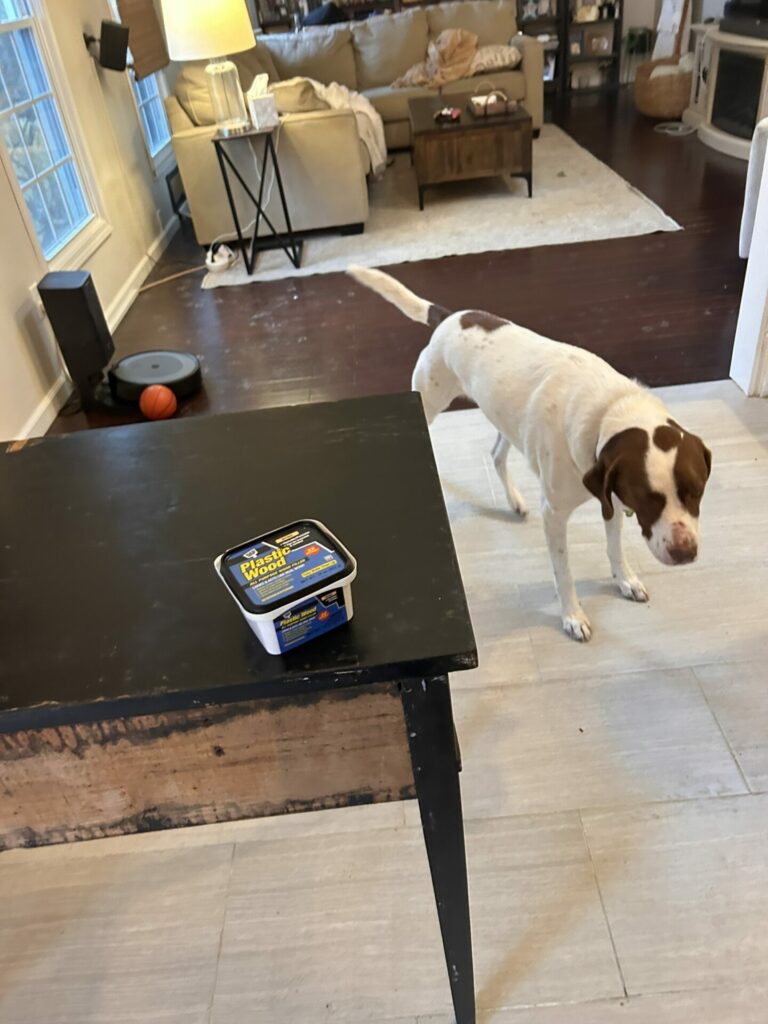
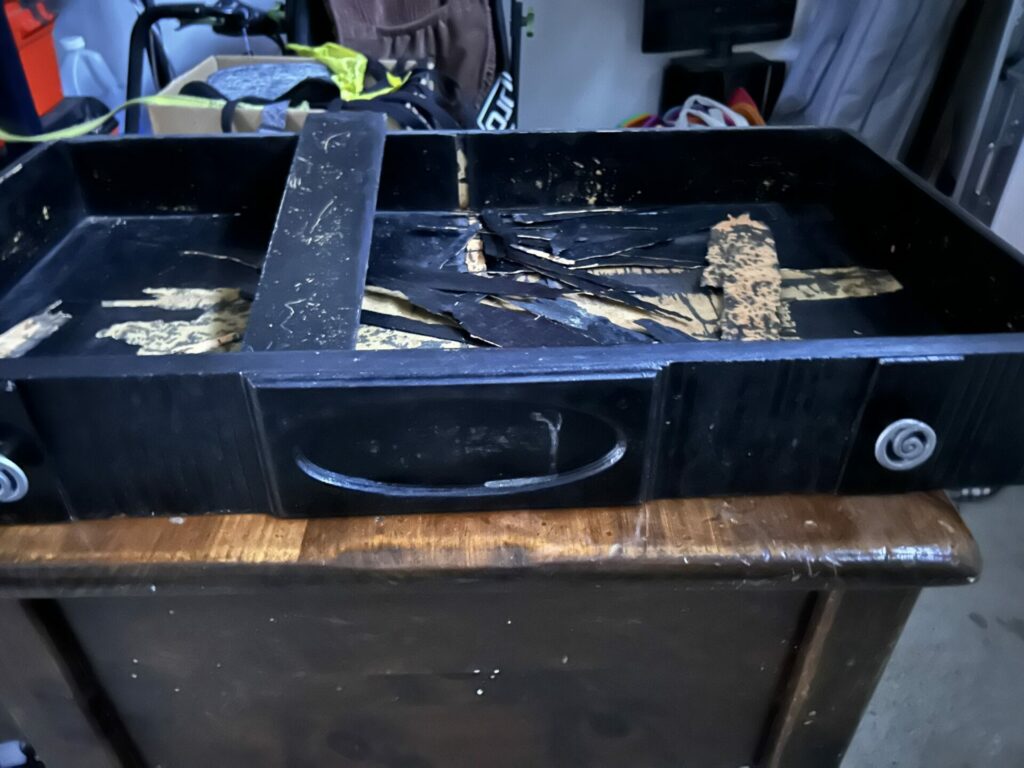
He was a mess. You can see in the pictures that Wallace was originally covered in wood veneer, but it was chipped, messy, peeling back and missing. I figured that I could remove it or repair it, but of course I did not know the shape of the wood underneath. His one leg had a chip, the drawer was a disaster inside with the bottom all chipping away, and the area behind the drawer was going to need a lot of wood glue and TLC to feel solid. Also, his black paint job was old and faded, but that was going to be the easiest part of this makeover!
The first thing I did was assess the damage. He had some dings on his legs and some chips here and there, but the drawer and interior were in terrible shape. Also, the top surface and back were missing some veneer and some was pulling off. I put the drawer aside for another day and got to work on the rest of it!
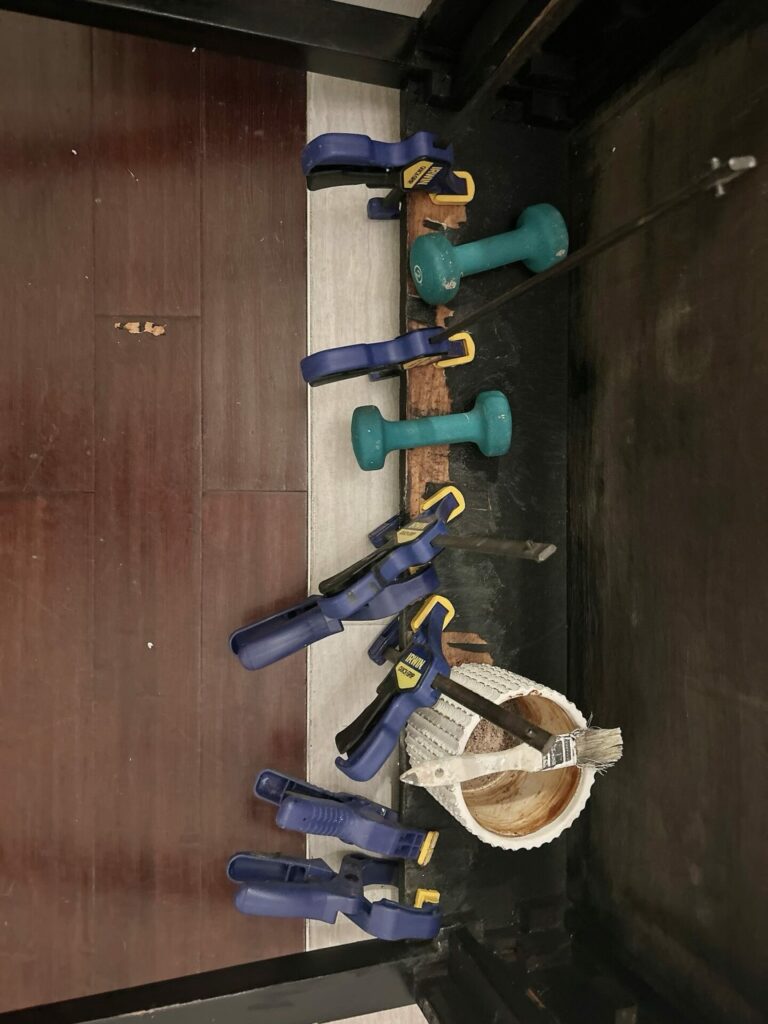
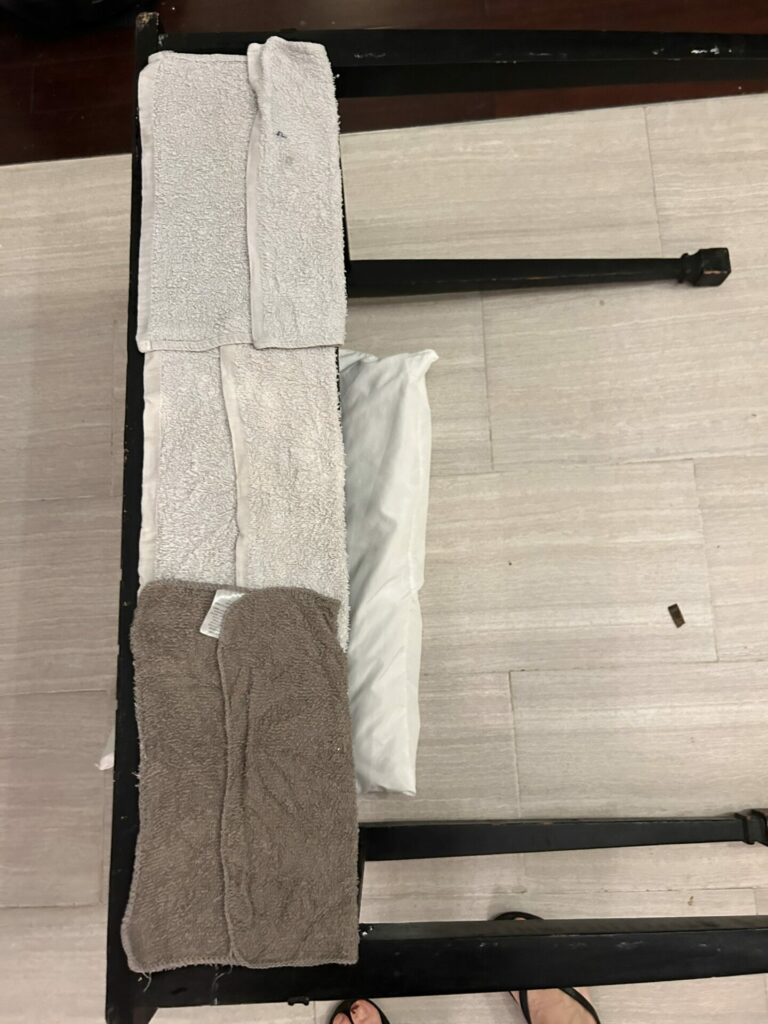
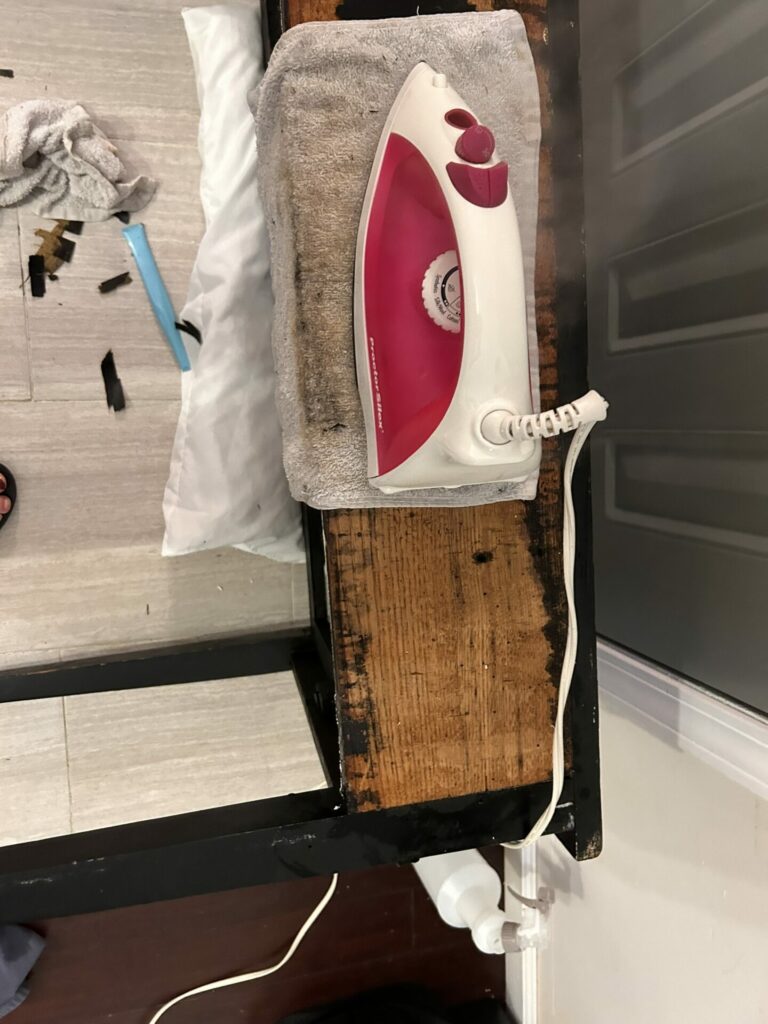
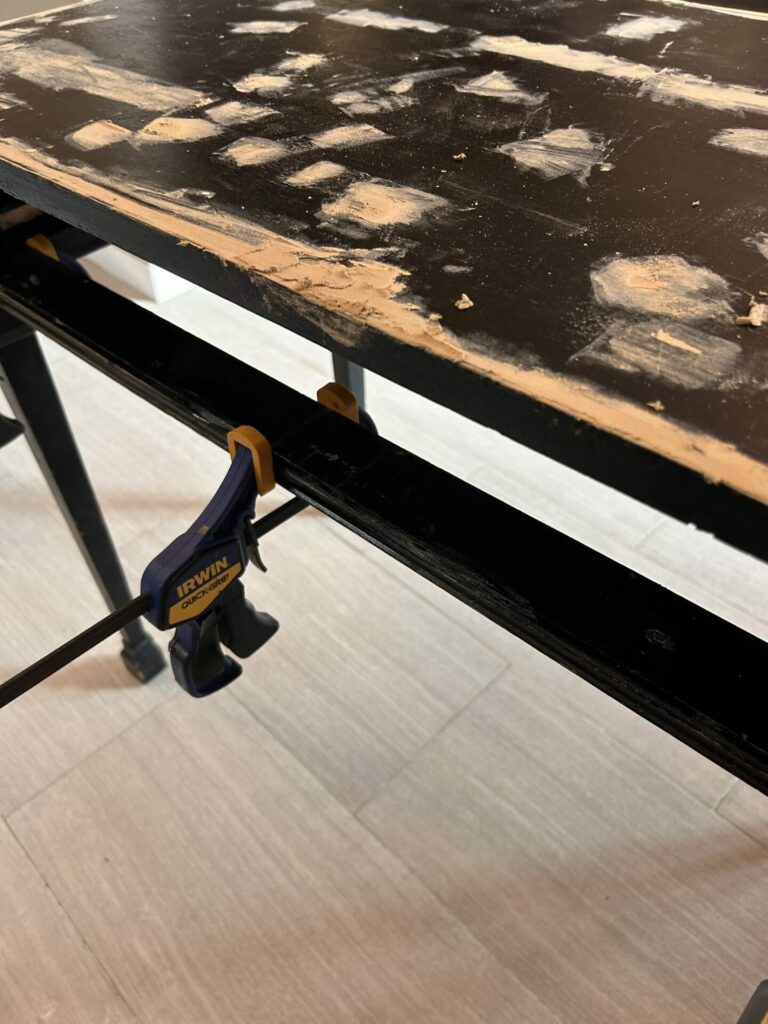
To stop the bleeding (so to speak), on the interior and keep the veneer from continuing to peel, I used a lot of wood glue, clamps and patience. I even used workout hand weights to try to weigh down this bad boy just to get a handle on the peeling. I then ironed the back. Yes, you read that right. I used wet cloths to dampen it, and then used a clothes iron and putty knife to get rid of the old veneer on the back. The dampness and heat will loosen the veneer glue for an easy peel off. (Thanks for the trick, A Ray of Sunlight – and the video). Luckily the wood behind the veneer was in good shape!
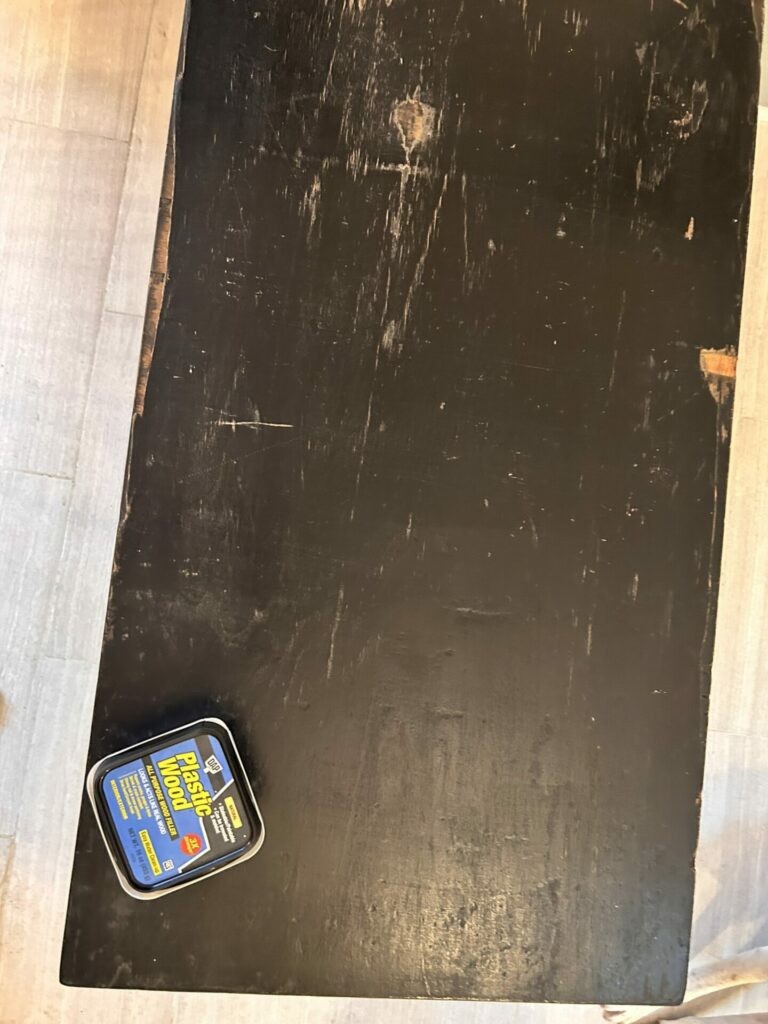
I used a lot of wood filler – for the dings, for the small missing pieces, and for the interior after a healthy dose of glue. I used a lot of filler on the top as well but soon realized that it would not be enough to save the veneer on top, so more to come on that! But I did not use Bondo or other harsh products. It was tempting – if you look into it, that is sort of a standard for missing veneer. I wanted to stick with products that have low VOC and are less harsh, so I used Boncart Wood Putty and DAP Plastic Wood to fill the gaps.
So yeah – after lots of patching and sanding, patching and sanding, patching and sanding, I realized that the top of the table was going to continue to peel And you never want that – your final product is dependent on the prep work that you do. So I decided to remove the veneer on top completely at this point. I started with my Ryobi sander, but finished with the good old iron trick because you just can’t beat it in terms of time and effort!
It was at this point that I began to hate Wallace. I didn’t want to, and in my heart I still loved him, but he was becoming a real challenge! I went and did another project to distance myself from him for a while.
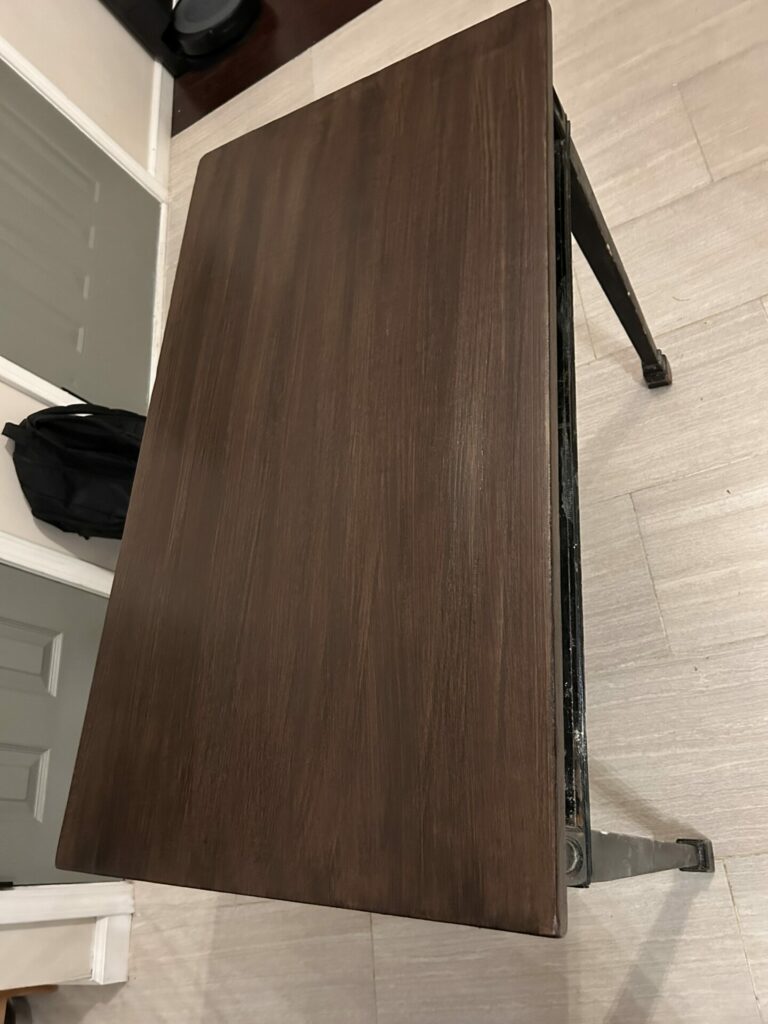
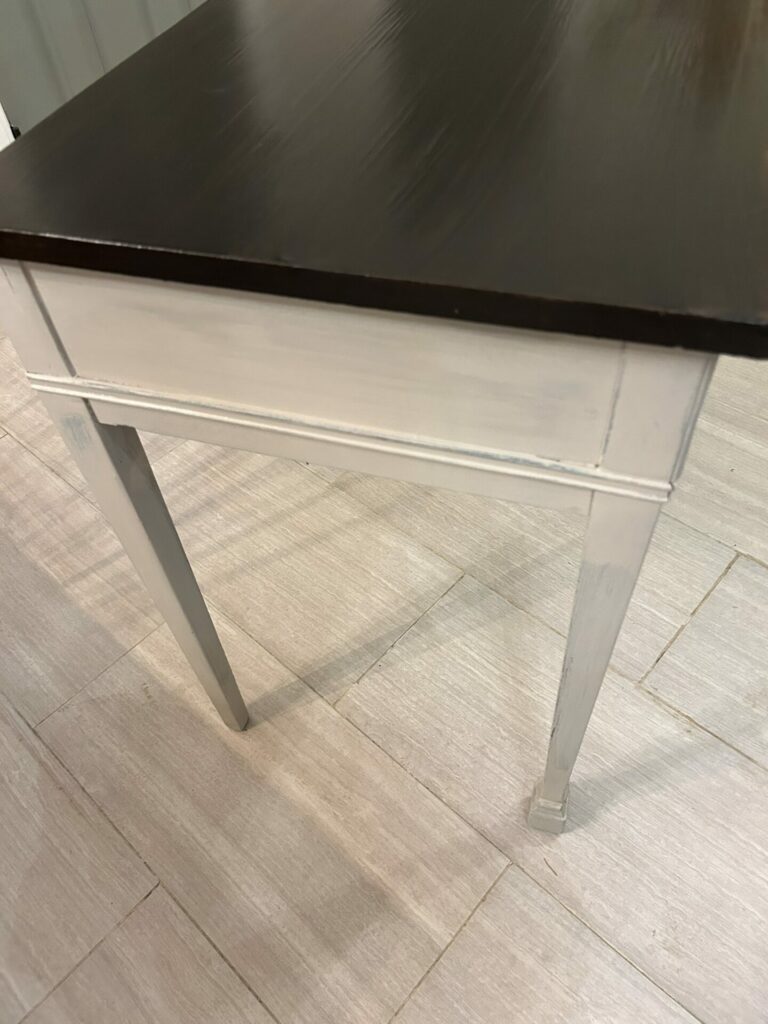
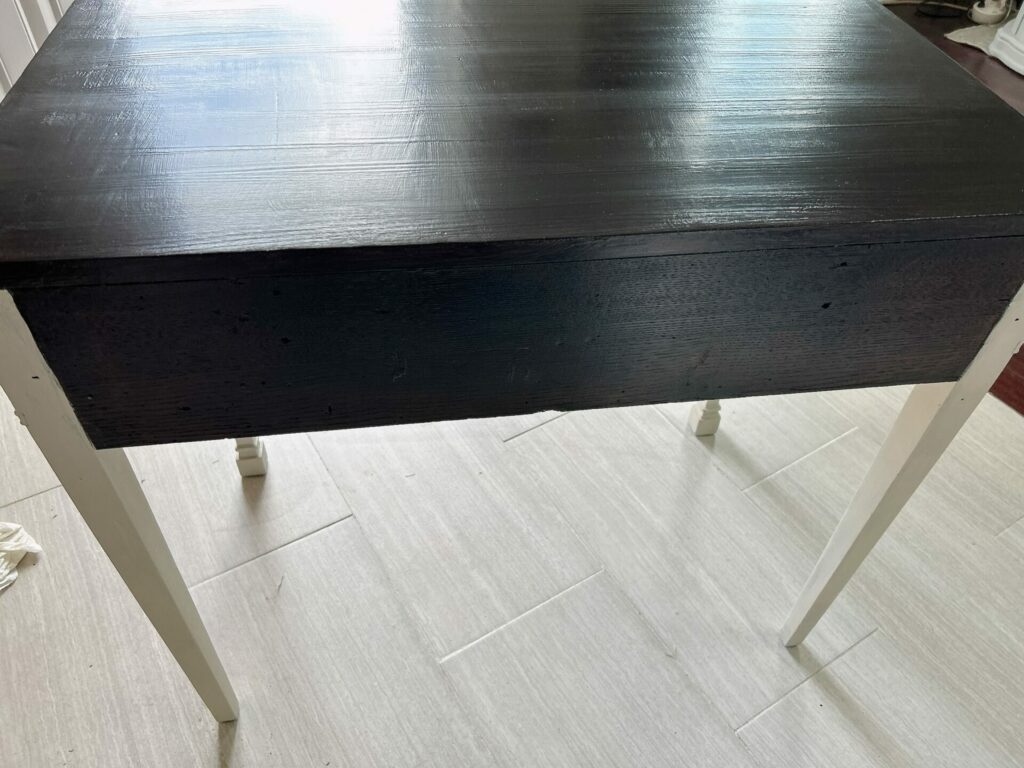
OK back to Wallace, I have forgiven him. As it turned out, the wood on top was in decent shape once the veneer was removed. There were some imperfections and I needed to do some corner work, but I always like details that give an item character. So once the top and back were sanded super smooth, I began to paint. I used Retique It Wood’N Stain in Barn Wood to paint the surface. To add a little depth and character, I used some Behr Paint and Primer Low Odor Paint in a brownish color that I had on hand, and used my Retique It Graining Tool to just go over that and raise up some of the paint for texture. Finally, I used Retique It Gel Stain in Java to go over everything. With some sanding between coats on all of this, the surface felt nice and smooth with only the raised sections I wanted. I also used the same gel stain on the back to give it that rich dark color. I sealed this all up with some General Finishes Water-Based Topcoat in Satin.
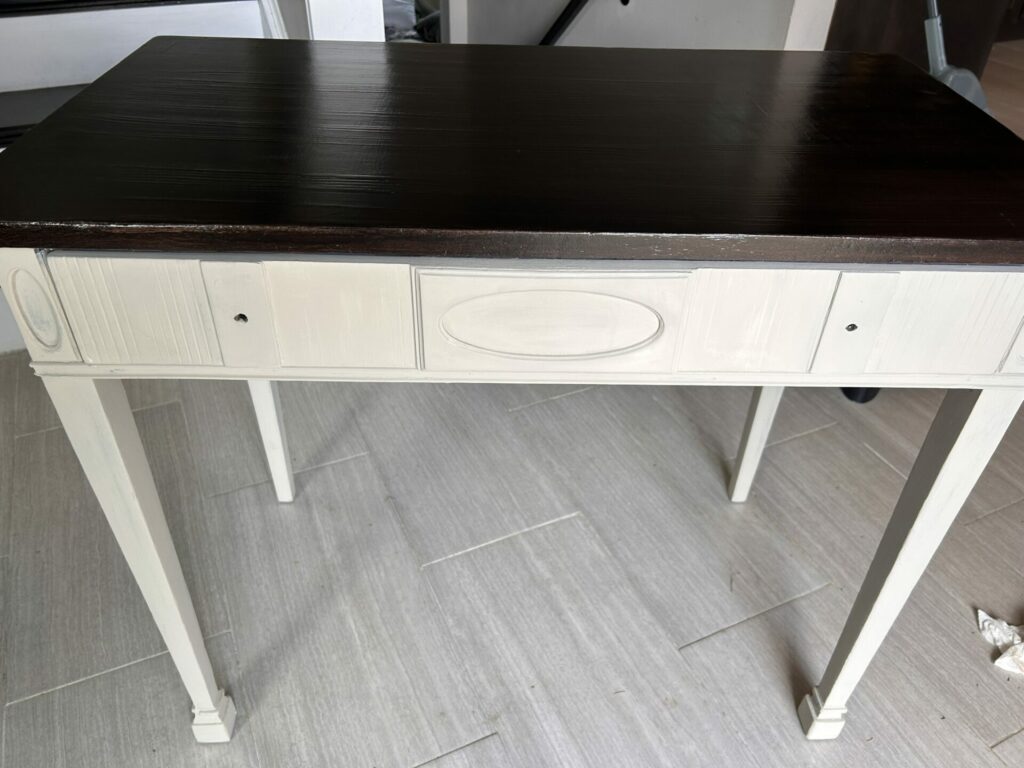
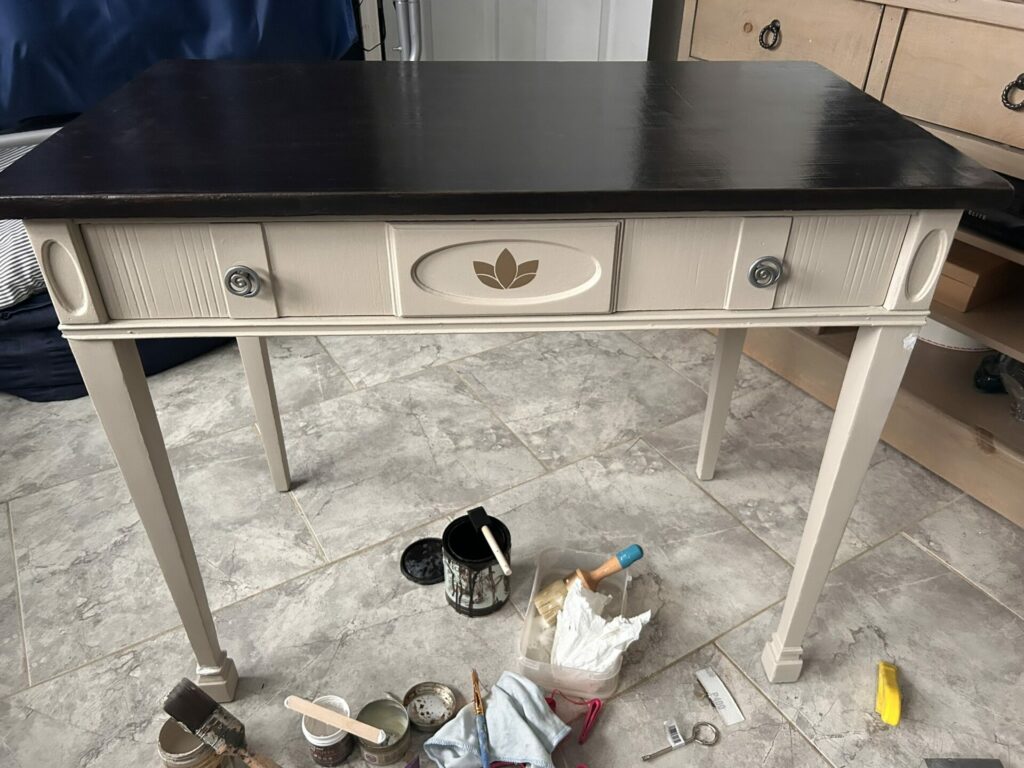
On a whim, I painted the front legs a dark blue but I knew right away this was not the look I wanted for him. Out came the chalk paint, which I honestly do not always love, but this seemed like the right choice for this project. I used Dixie Belle Chalk Mineral Paint in Sand Bar for the body of the piece. After many coats, I sealed this with clear wax I bought at Michael’s. I did have some dark spots I had to fix after this, and was not sure if I would use this combination of paint and wax again. But the finished product looked great!
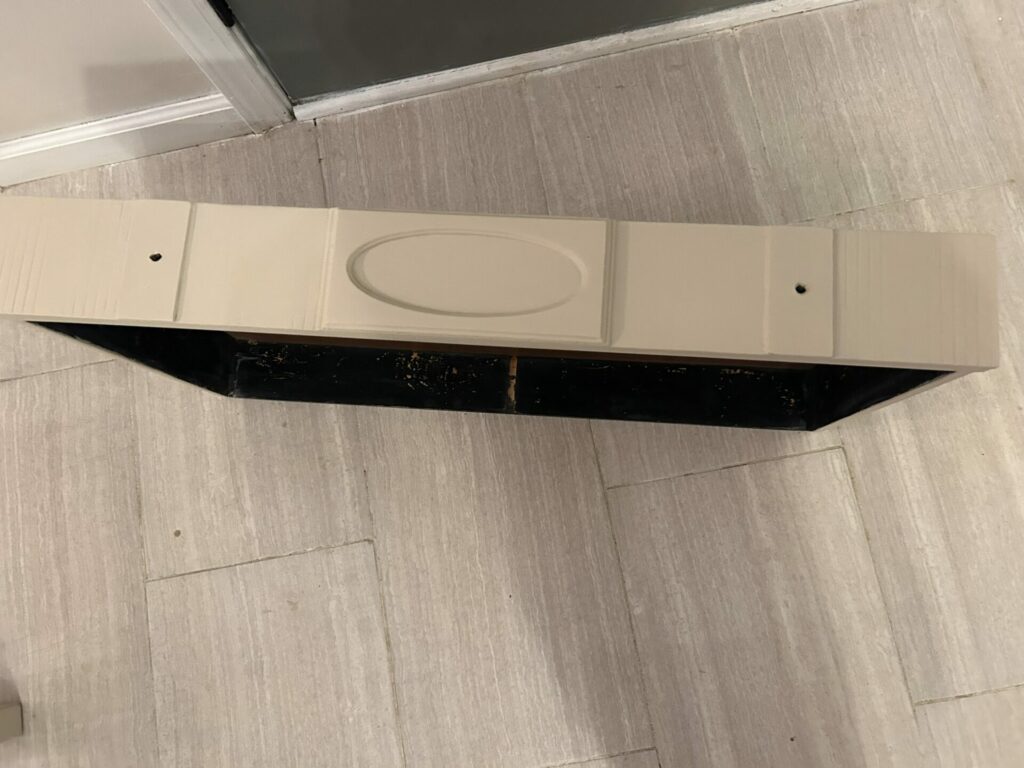
Now onto the drawer. A huge shout out to my father-in-law who easily structurally fixed the drawer. I had removed the bottom entirely, there was just no saving it! But some new hardboard and staples later, that drawer was like new. I painted it to match the rest of the piece, but left the interior of the drawer alone because it was original to the item and gave it character. And then those pulls, I just love them! I cleaned them up with steel wool and soap, and gave them a little gold accent with my beloved little gold paint pen. I used the original screws and affixed those little gems right onto the front of the newly repaired and painted drawer.
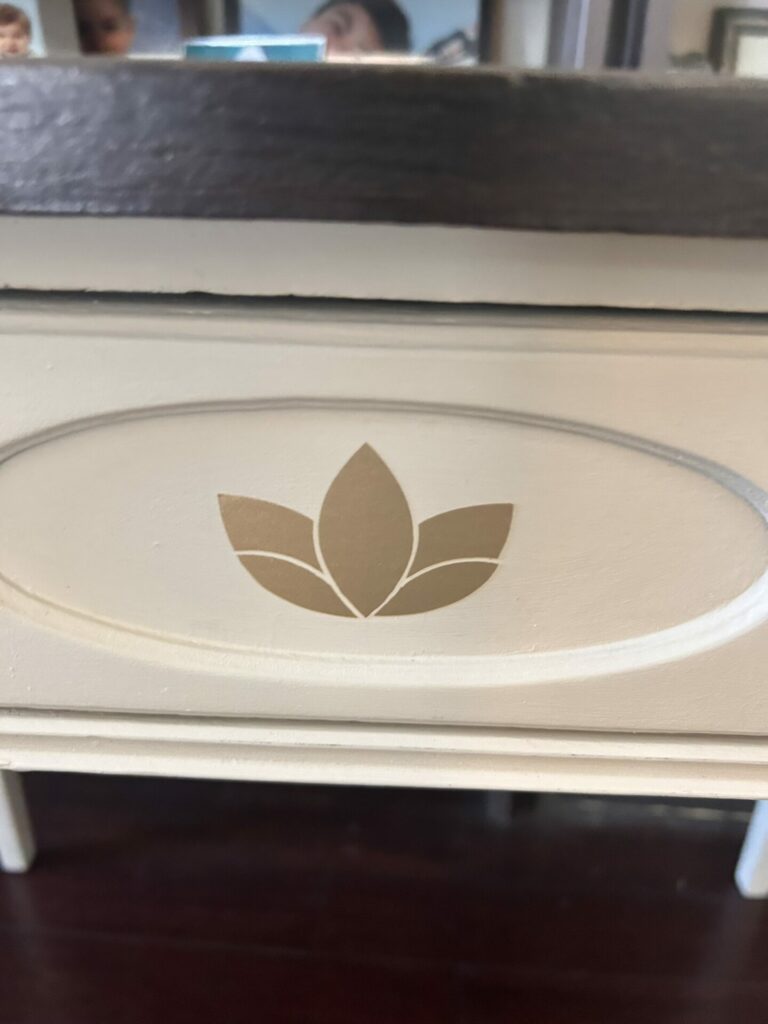
Finally, as a new Cricut Explore 3 enthusiast, I am always looking for ways to use my Cricut for my furniture projects. I bought some gold Permanent Smart Vinyl and used Canva for the flower file, and placed this new decal in the center of the drawer which I felt was just begging for a pretty little accent! I am planning to incorporate more Cricut-ing (I have decided this is a word) into my makeovers in the future.
That’s it! It took much longer than intended due to the continuous challenge with the old veneer, but I love how Wallance turned out!
Wallace’s original origin is unknown, but I used ChatGPT to describe the look and features to see what I could find out, and it said:
Overall, the desk you described likely reflects the craftsmanship and design sensibilities of the late 19th to early 20th centuries, particularly during the Victorian or Edwardian periods, when ornate furniture pieces with wood veneer and silver accents were popular.
So maybe that is correct, who knows!
Please note that Flippaintly does not claim perfection on furniture makeovers! Each one is an original as we make unwanted furniture special and beautiful again! Minor flaws from a piece’s life journey and its revitalization are part of the unique beauty of the item.
OK so what’s next? It is so fun to have a project, and even better to enjoy the rewards of your hard work! Go back to Home and see some other fun ideas!

