We have only one full bathroom in our house, and it gets a lot of traffic! When an area of my house becomes a struggle, I focus on it a lot less. I ventured into the bathroom to clean it, but stopped caring about making it nice. It just became a headache. So this seemed like a great place for a humble upgrade!
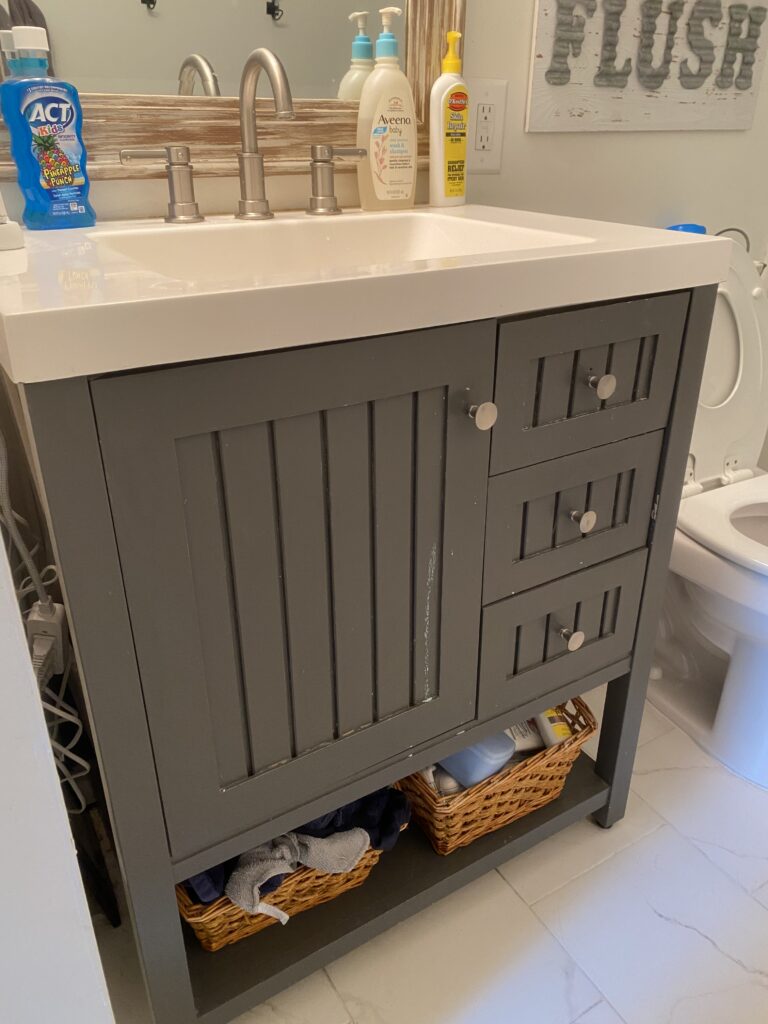
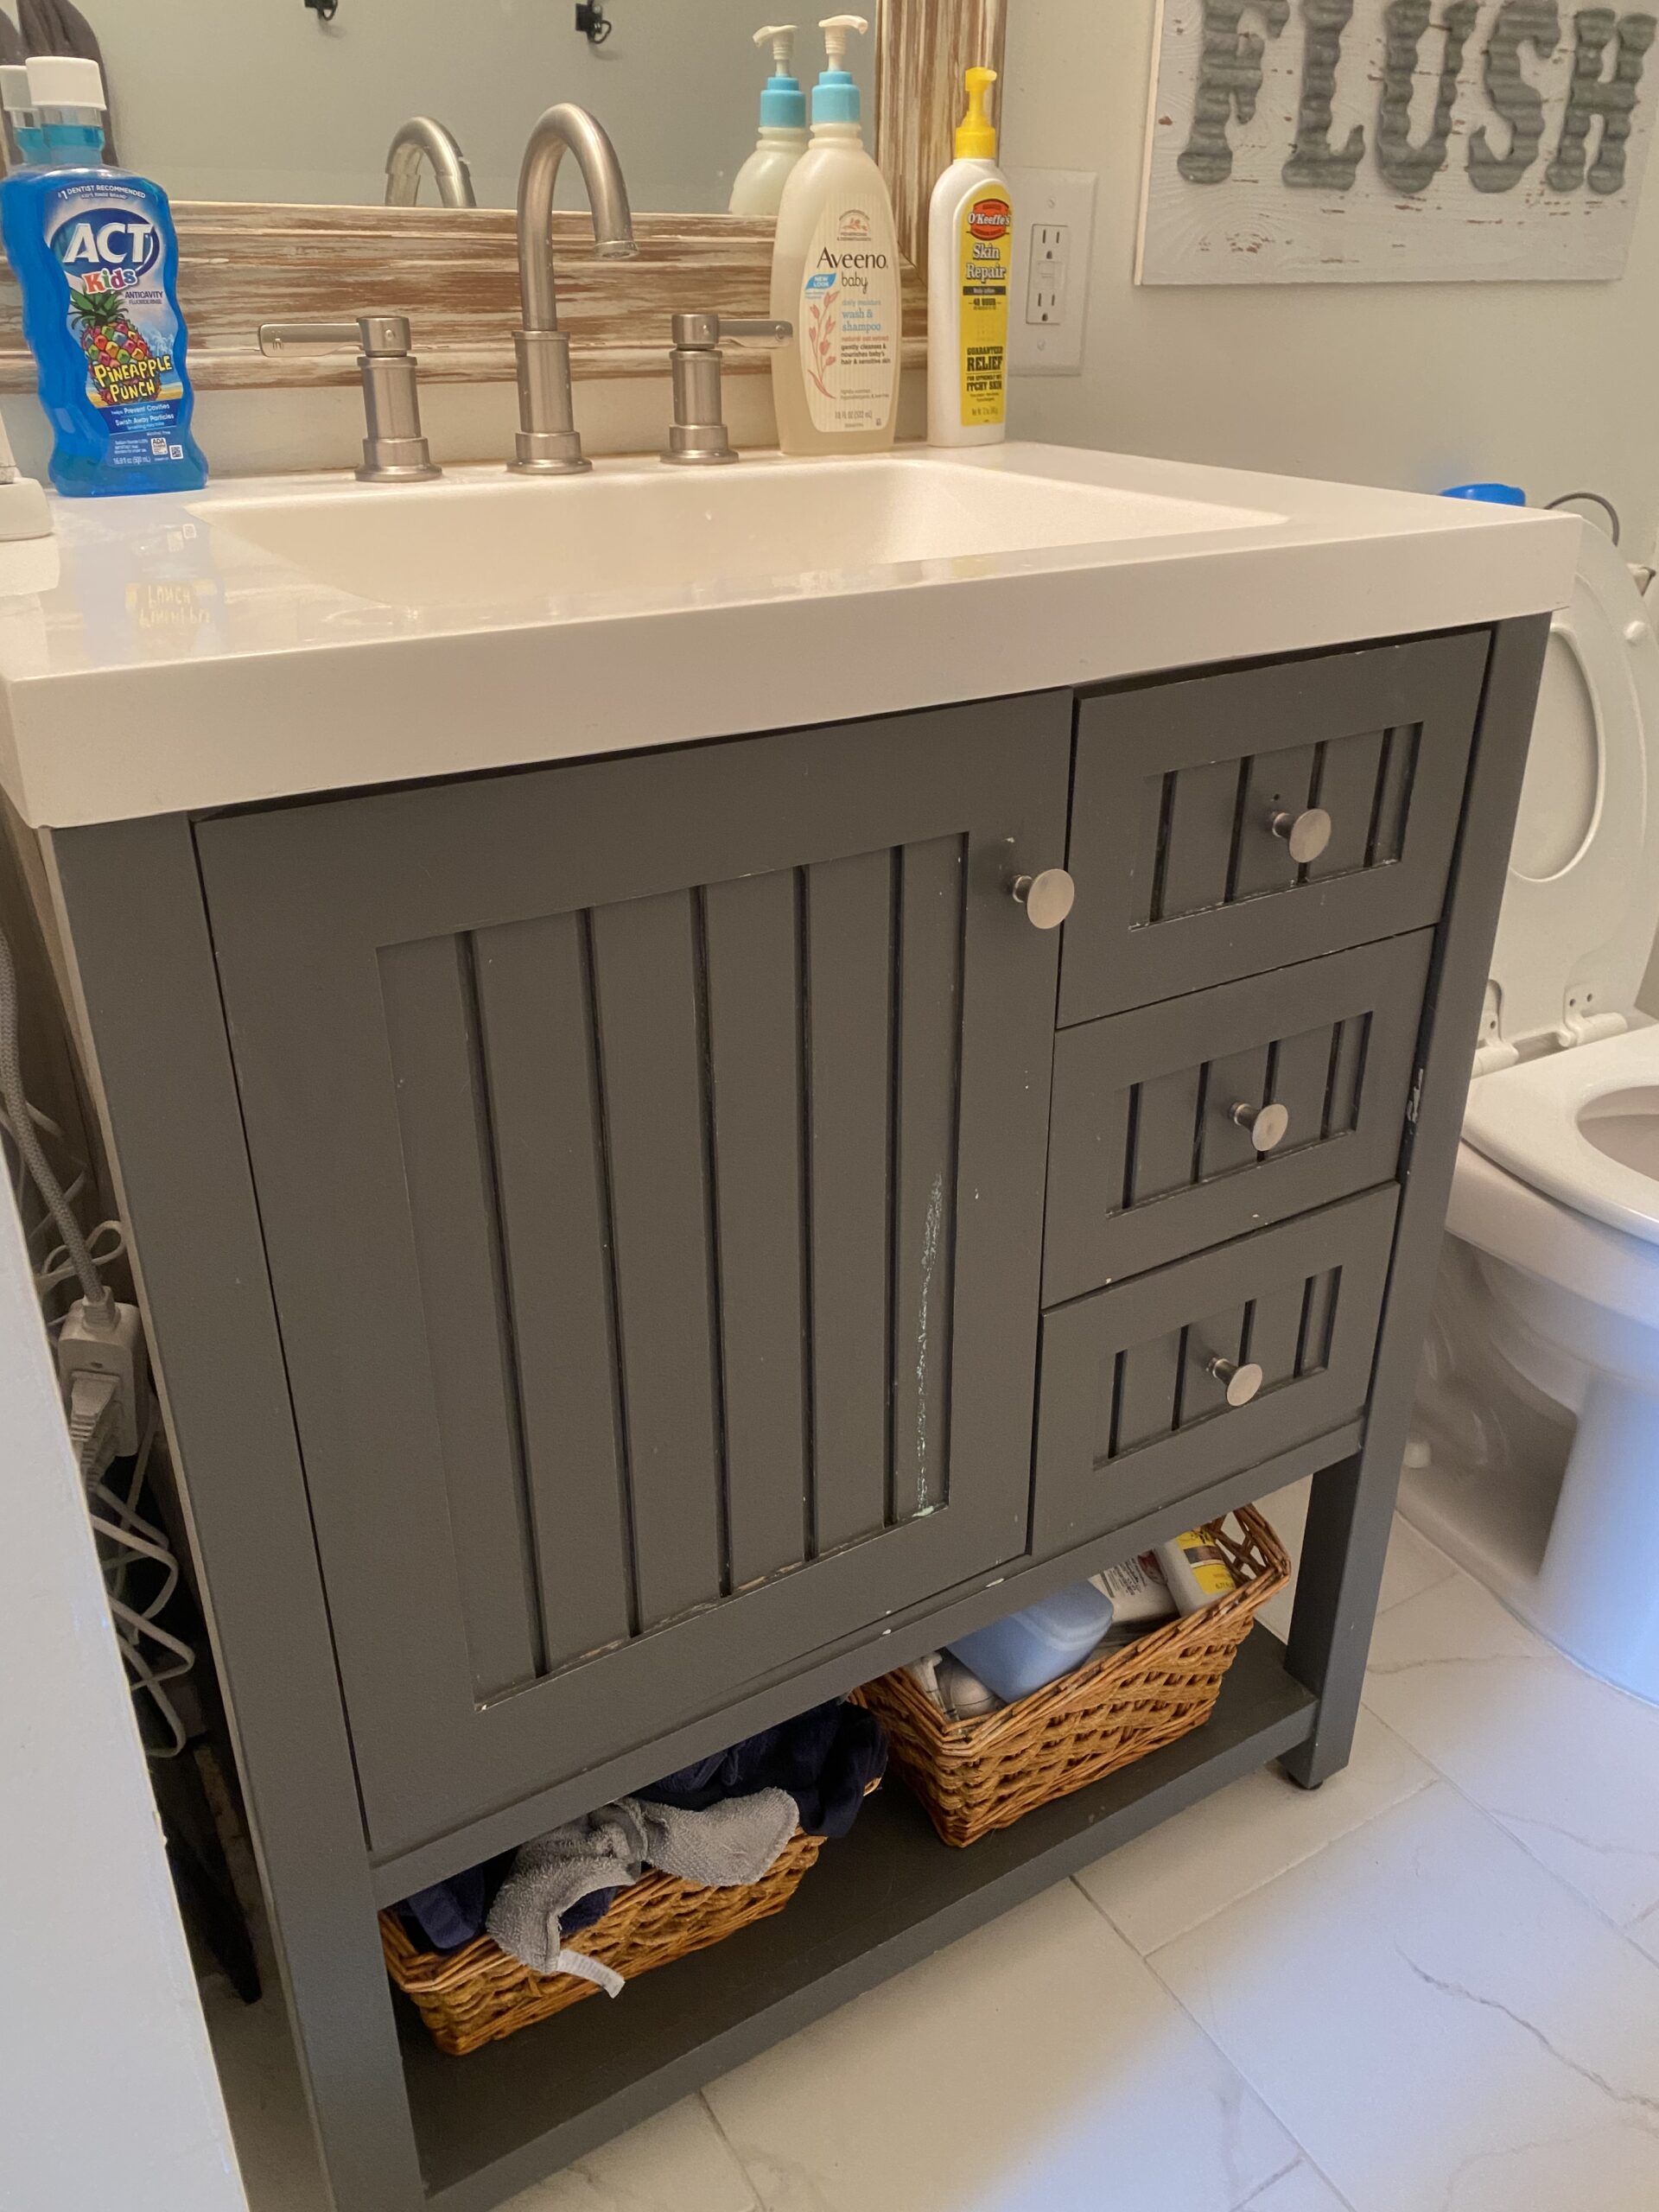
In the past, I had replaced a tiny dark colored vanity that I hated with this much larger Martha Stewart Living Seal Harbor Vanity. I love the stunning white vanity topper and huge rectangular sink. It also offers a cabinet, 3 drawers and a lower shelf for baskets, which always makes a space feel warmer to me. But the light grey paint didn’t stand up to my family, and it started looking shabby quickly. The room around it was also starting to become drab and grimy.
An upgrade was needed, but it had to be quick and inexpensive.
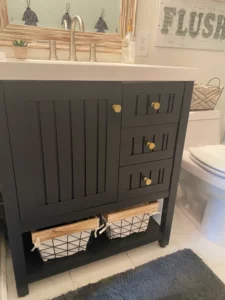
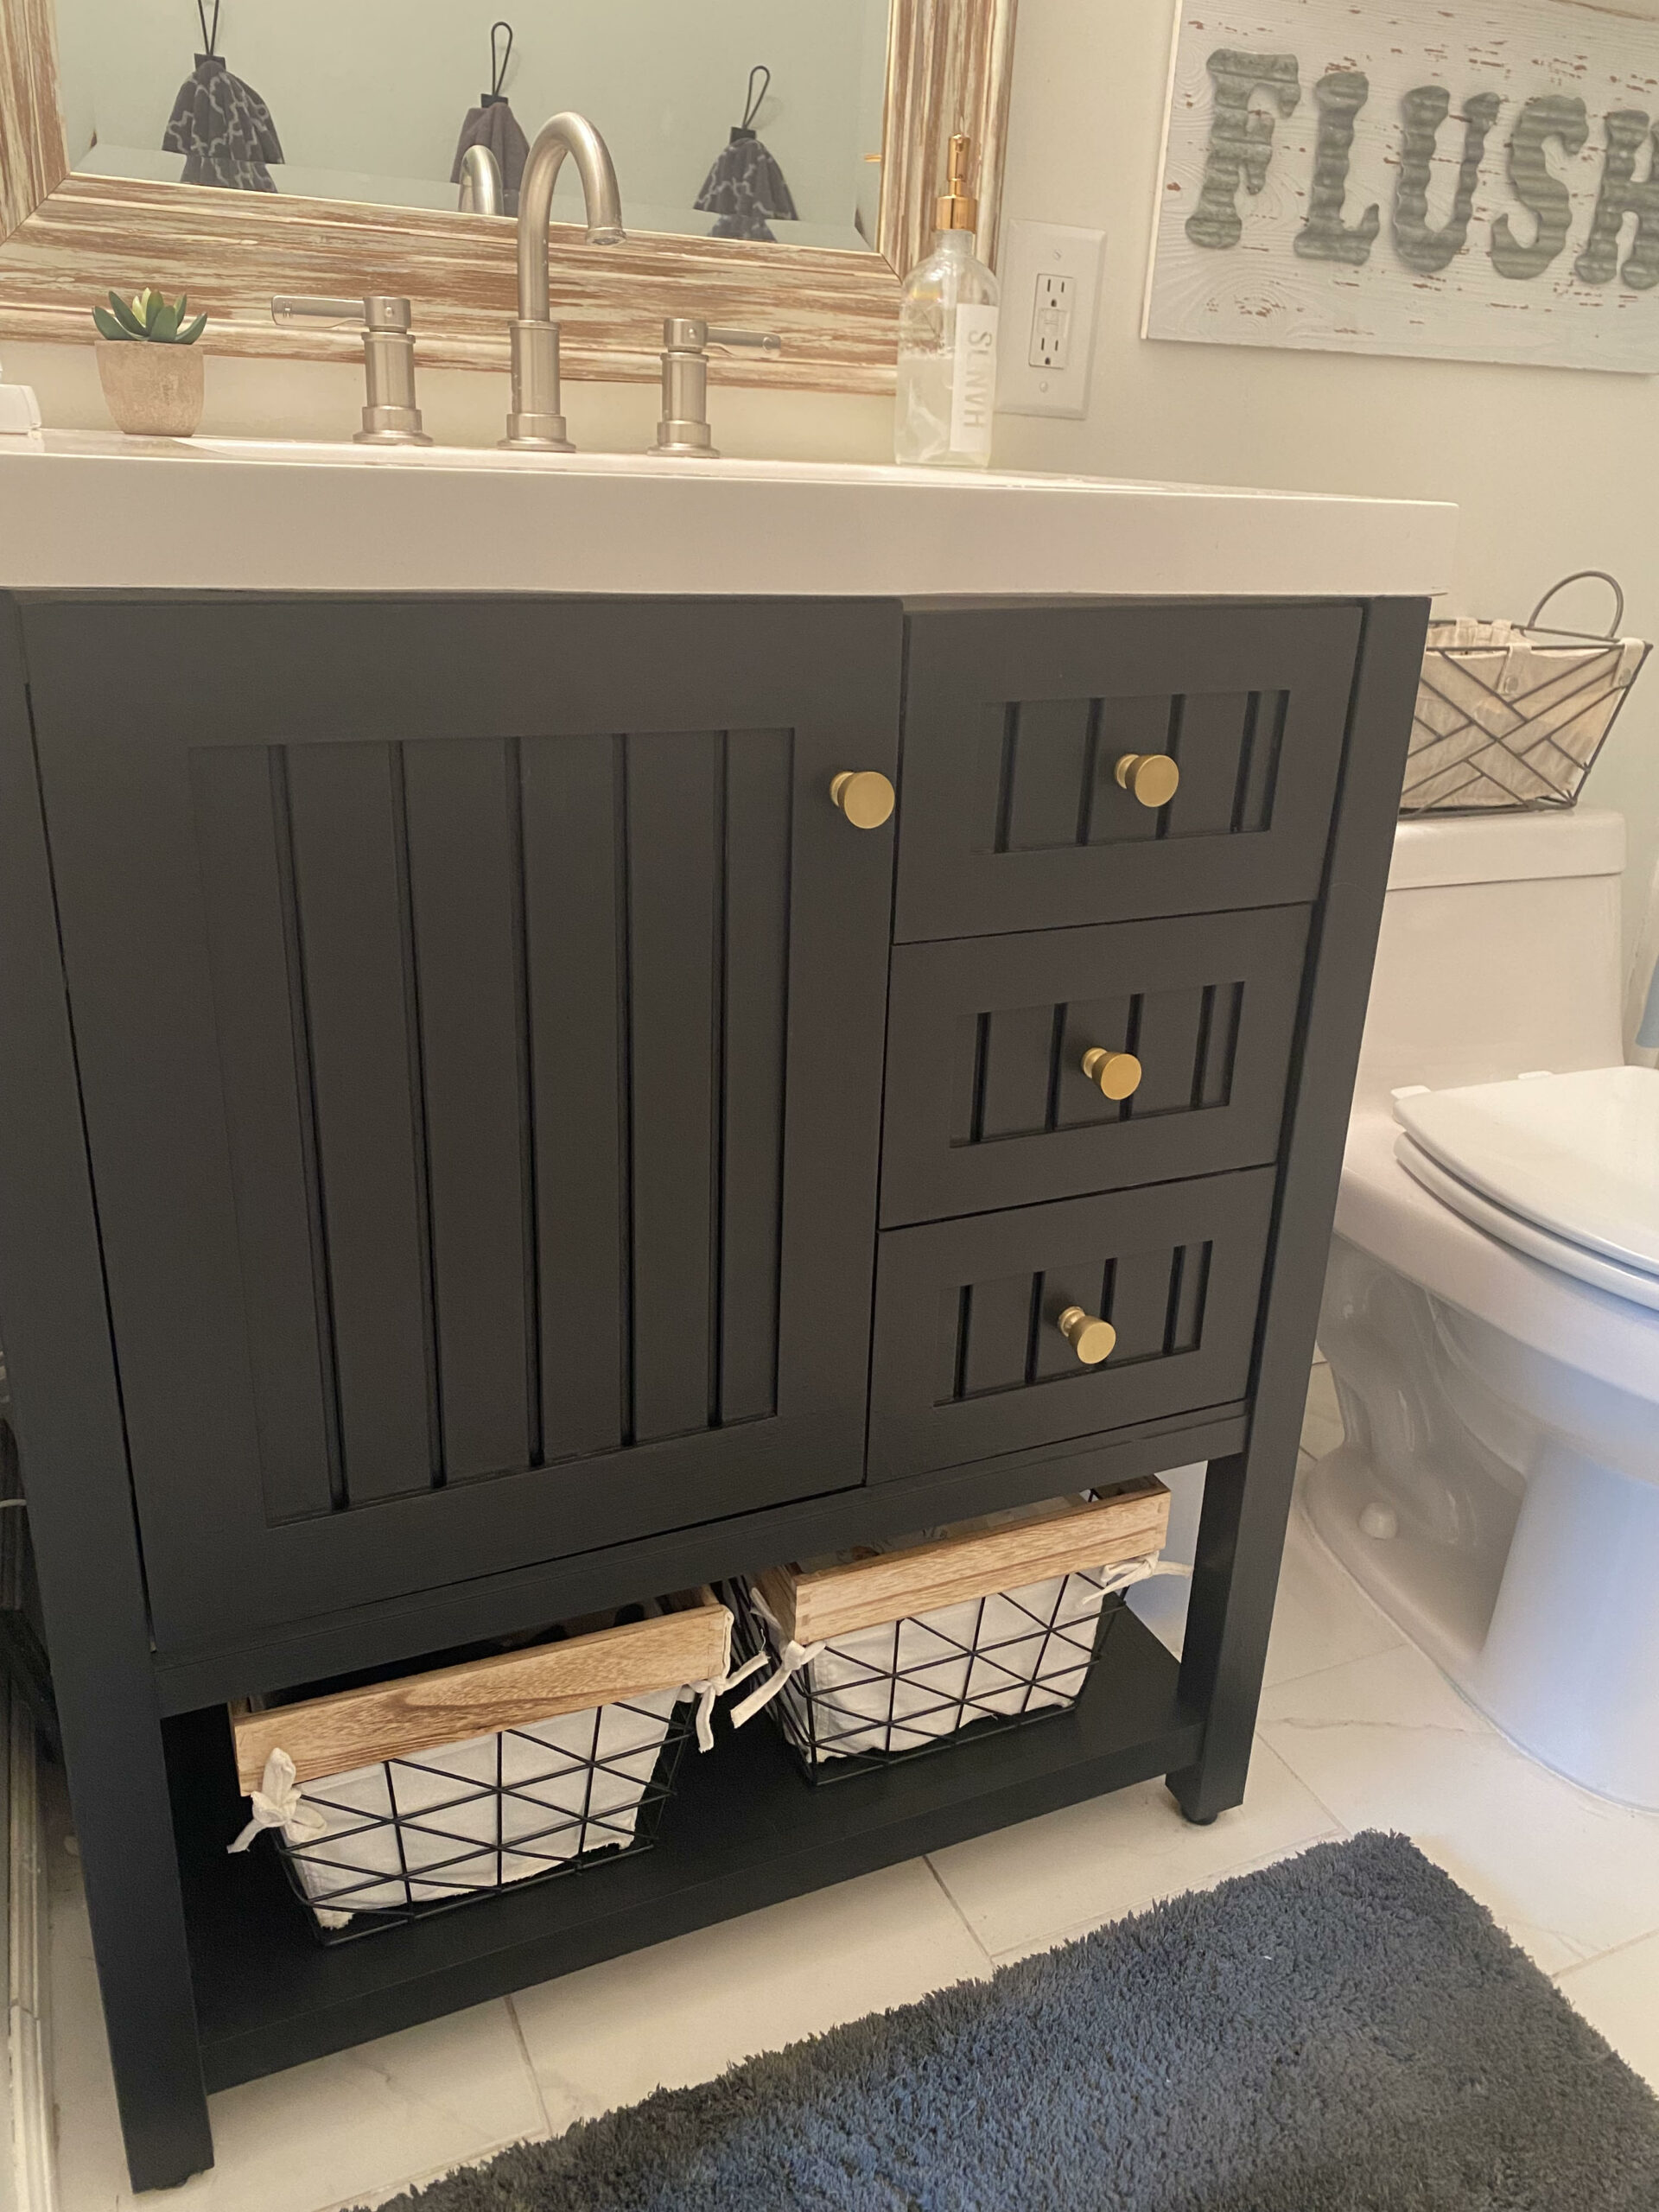
So what did I do? I dove in headfirst with very little time and few materials. The whole “lite” bathroom refresh took less than two hours. I painted the vanity, added updated baskets, and installed new brass hardware that gave the whole room an updated look. Finishing touches included a fake succulent plant and a stylish refillable soap container. A neutral item with a bit of flair always looks better than a branded plastic soap dispenser! And yes, that is my vanity below hidden beneath all of the mess and gross toothpaste film (shameful I know)!
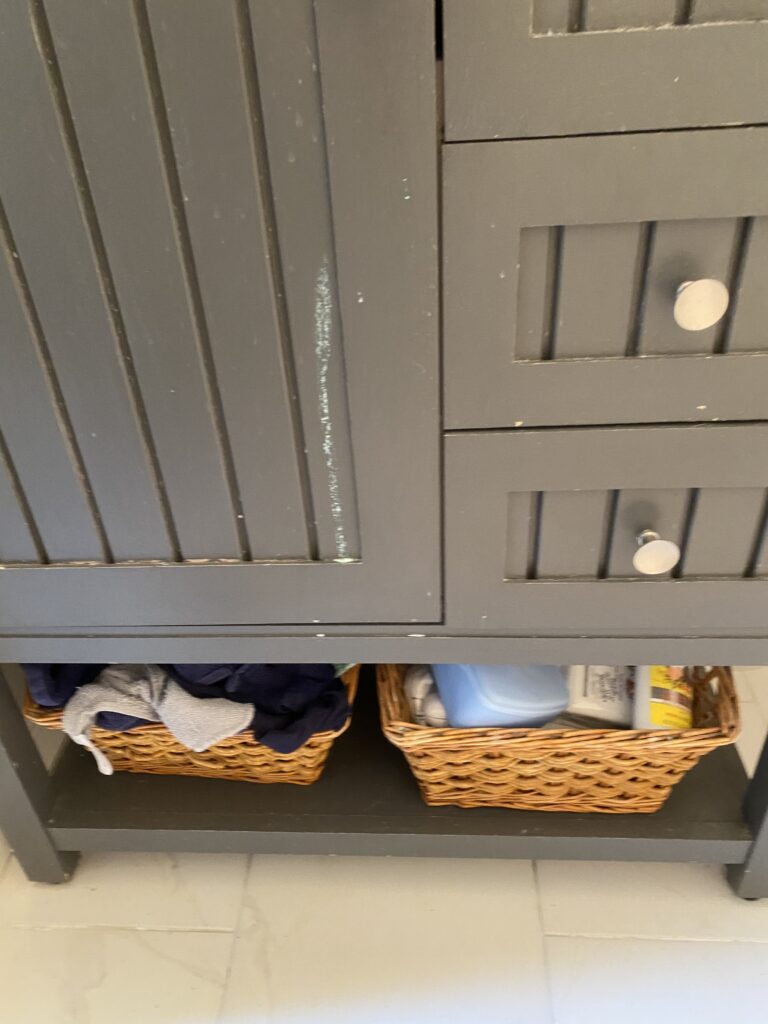
So I went with a paint I already had, but buying paint would not be too expensive because a bathroom vanity can be painted with just a quart. I did NOT SAND, but you might need to do some light sanding on your vanity, particularly if it appears shiny. I found the Valspar Simplicity Paint in Satin went on great and two coats did the trick.
I am impatient and only waited about 45 minutes between coats. This paint is a good zero VOC option, but keep in mind that only applies to the base before tint is added. You also want to be sure to choose a durable paint that you can scrub bathroom mess (including toothpaste) off of without making marks. In the future I would choose a paint more for cabinets and/or damp spaces with more of a sheen for easier cleaning and wiping.
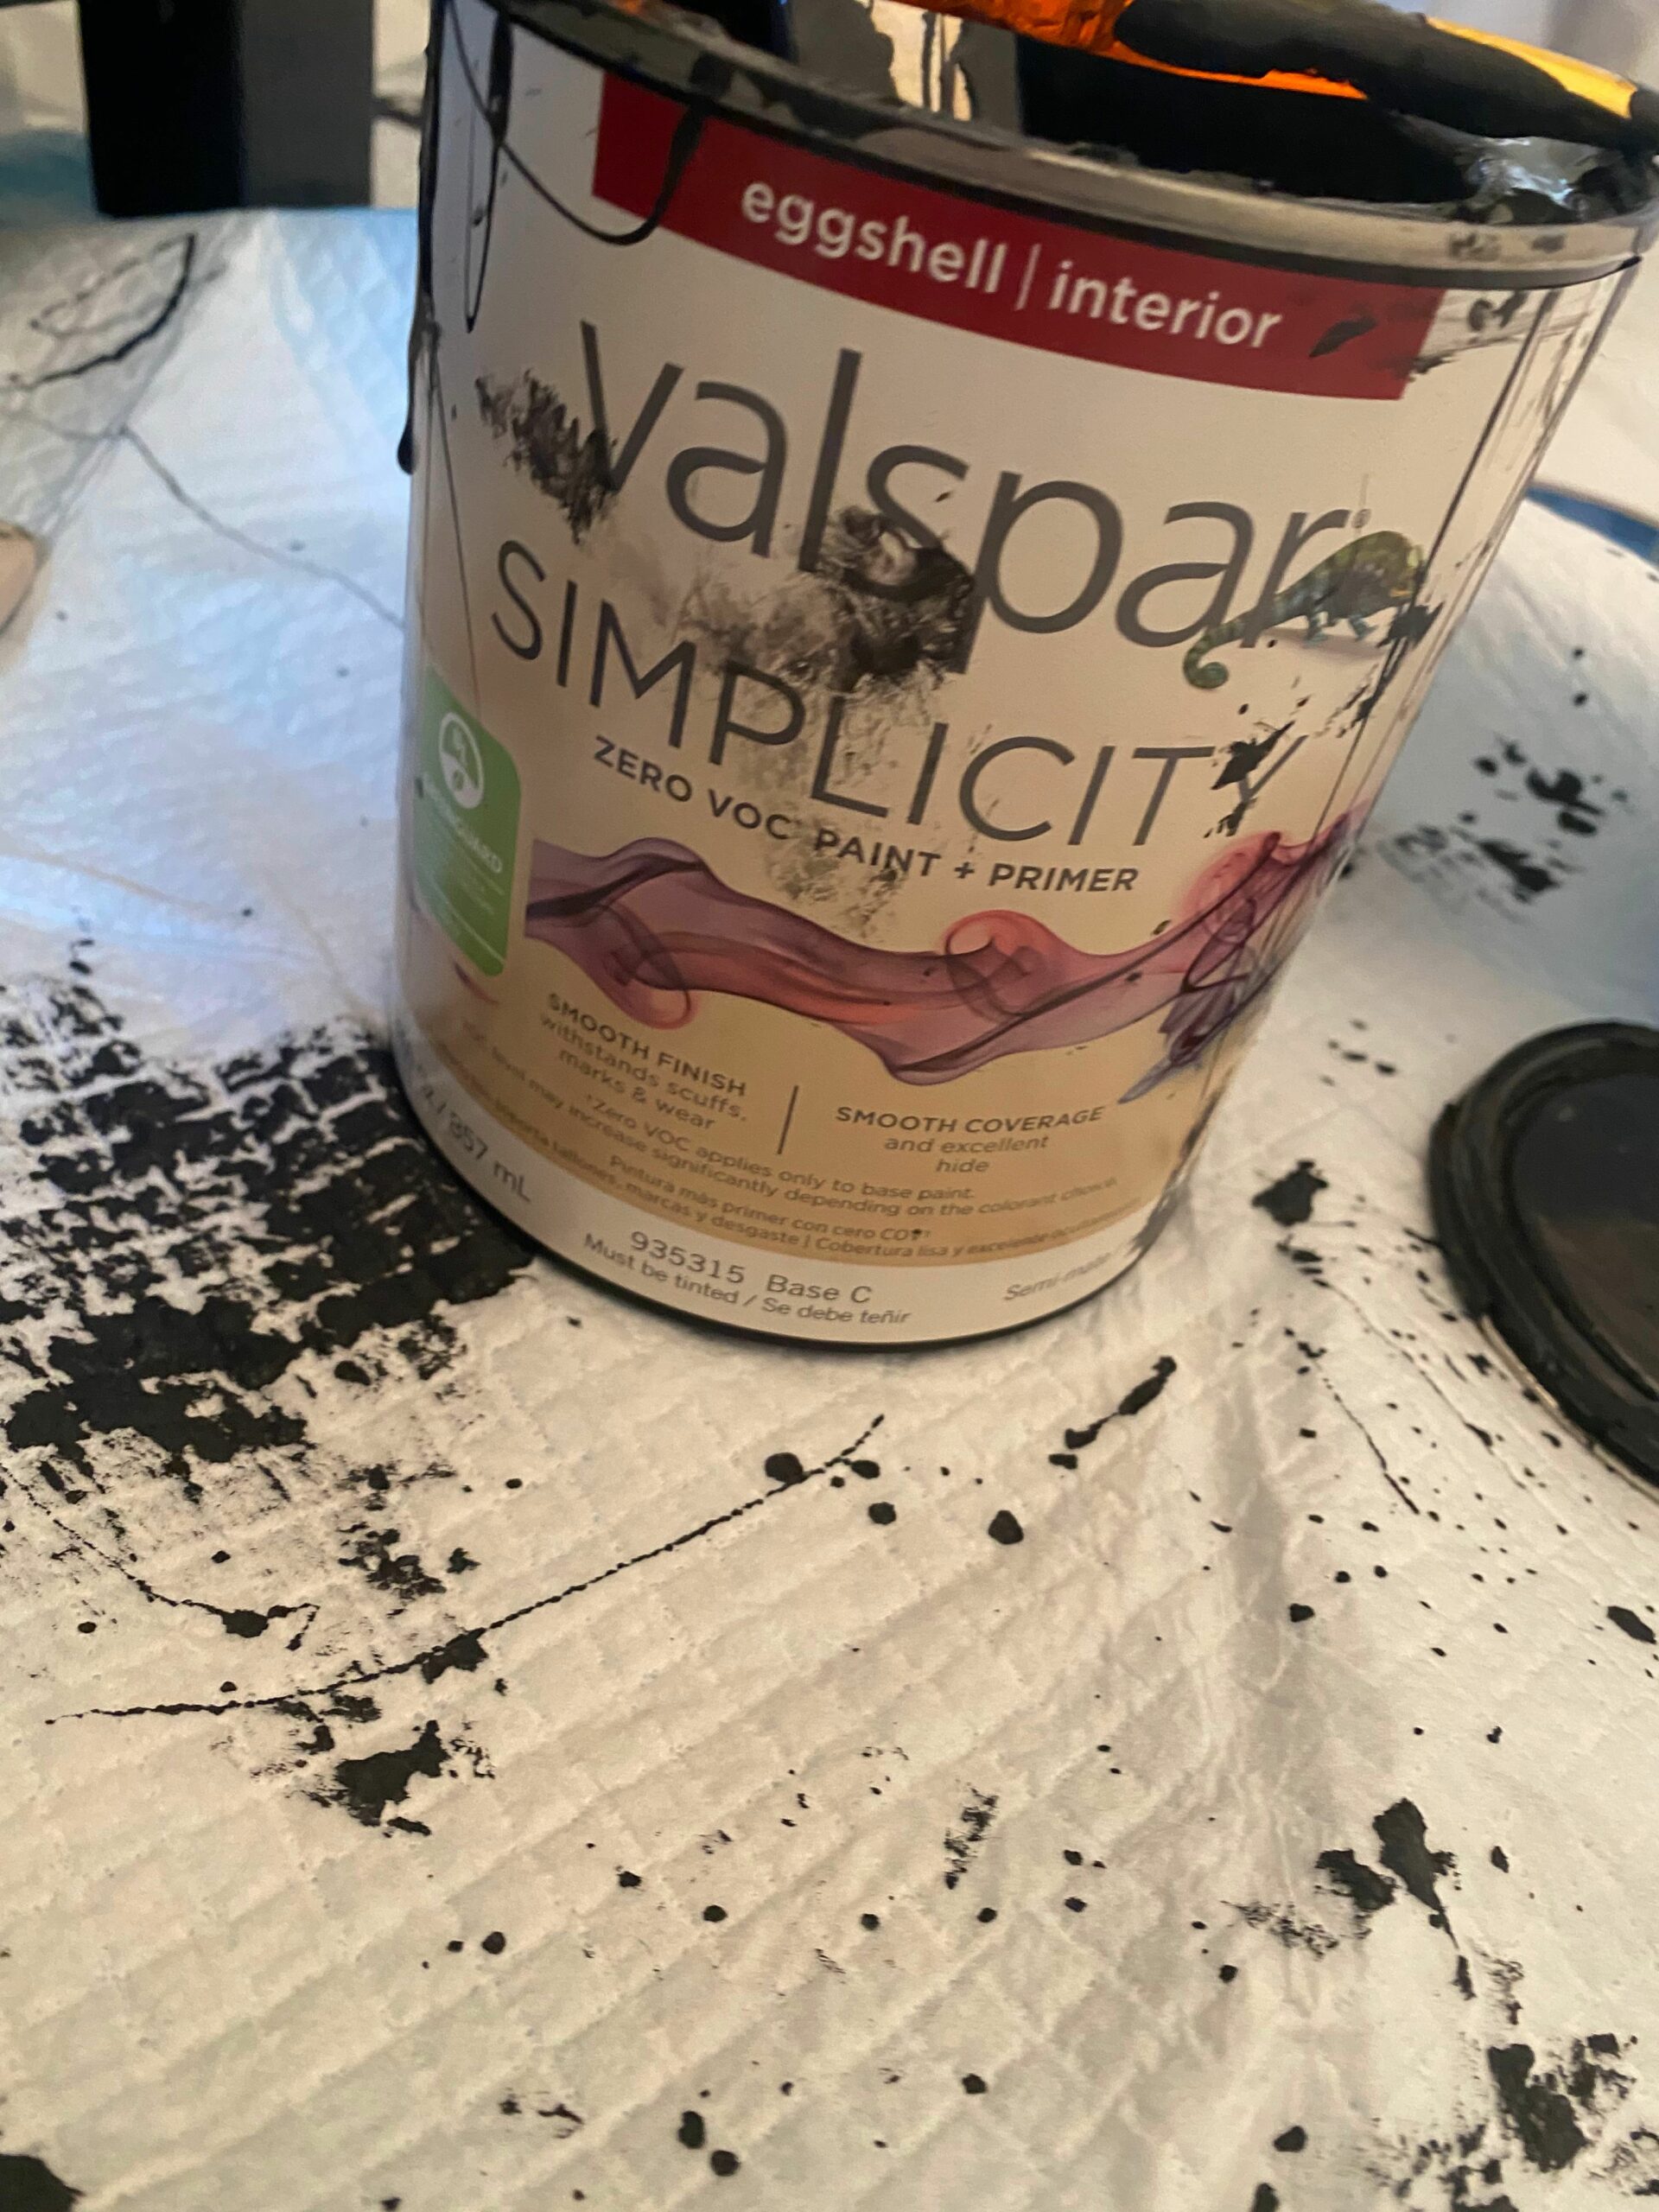
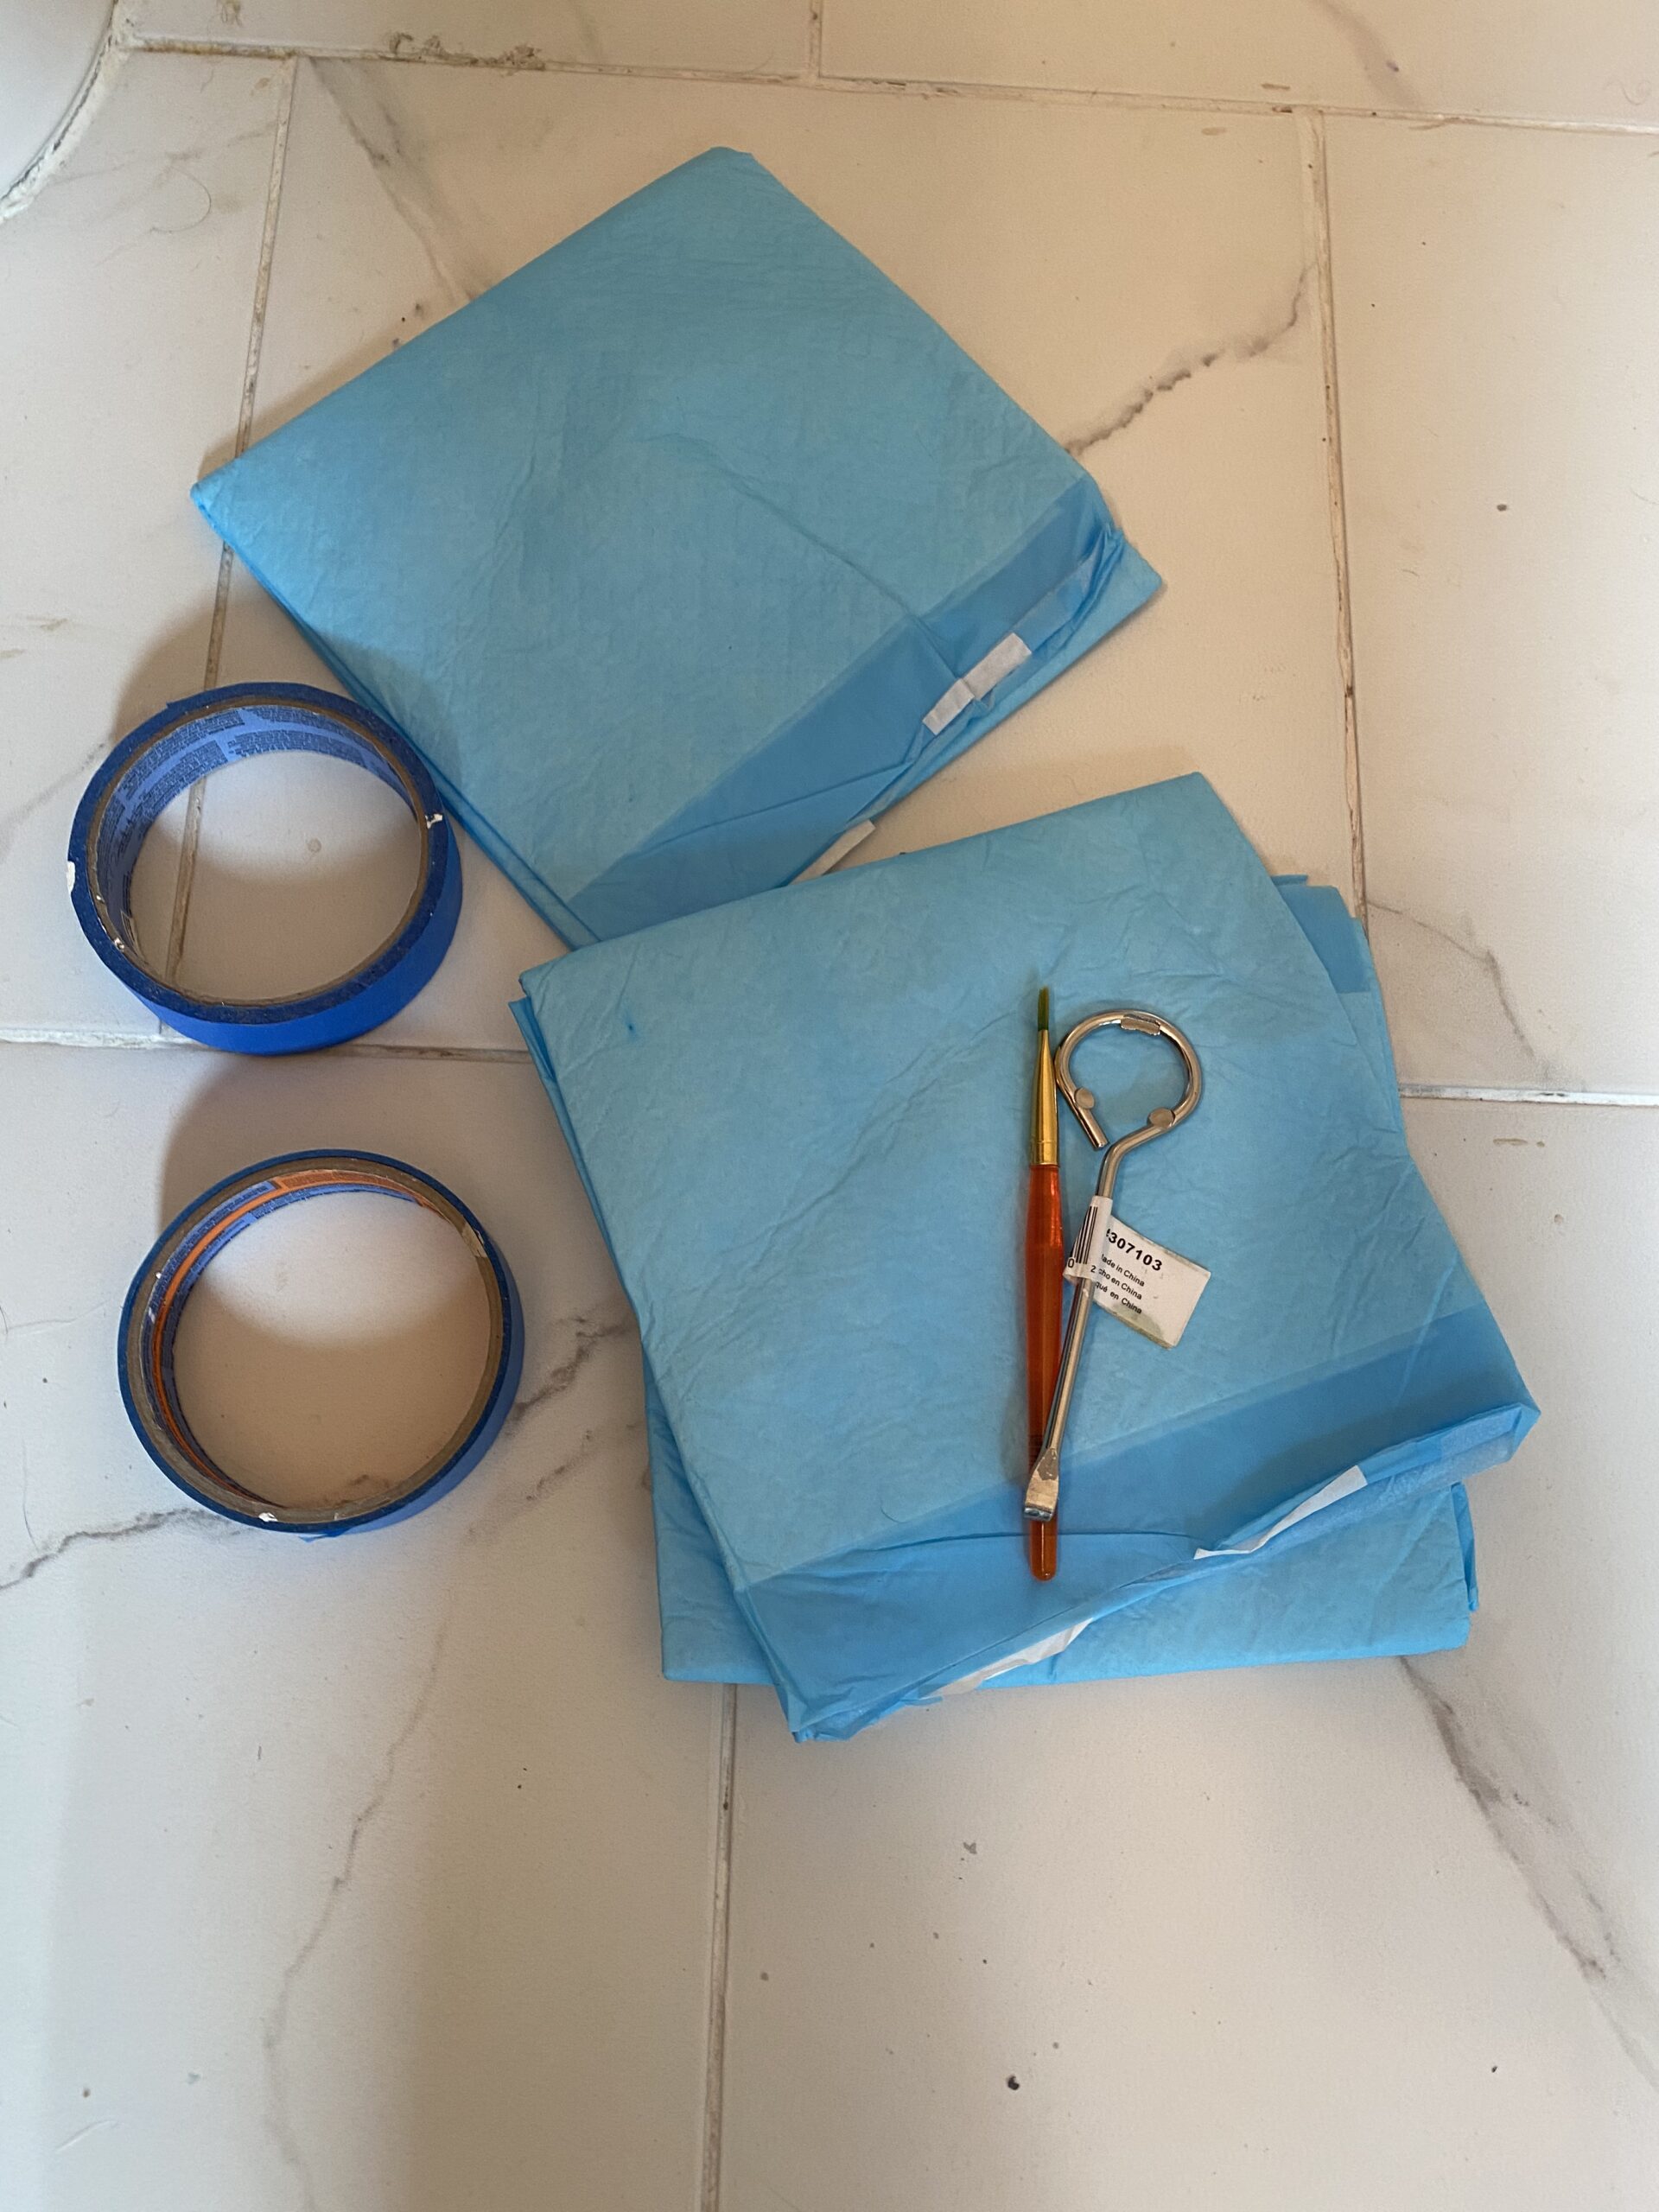
Fun Tip: We have lots of leftover puppy training pads from when our dog was housetraining. I saved them because they are GREAT for controlling messes and guarding floors when painting. I set the paint on one to catch spatter (I am very messy) and also use them as drop cloths for small areas. I used a basic sized paintbrush but also a nice small art brush from Michael’s for small details (those little inverted slats would be a pain and this little brush made it a breeze)!
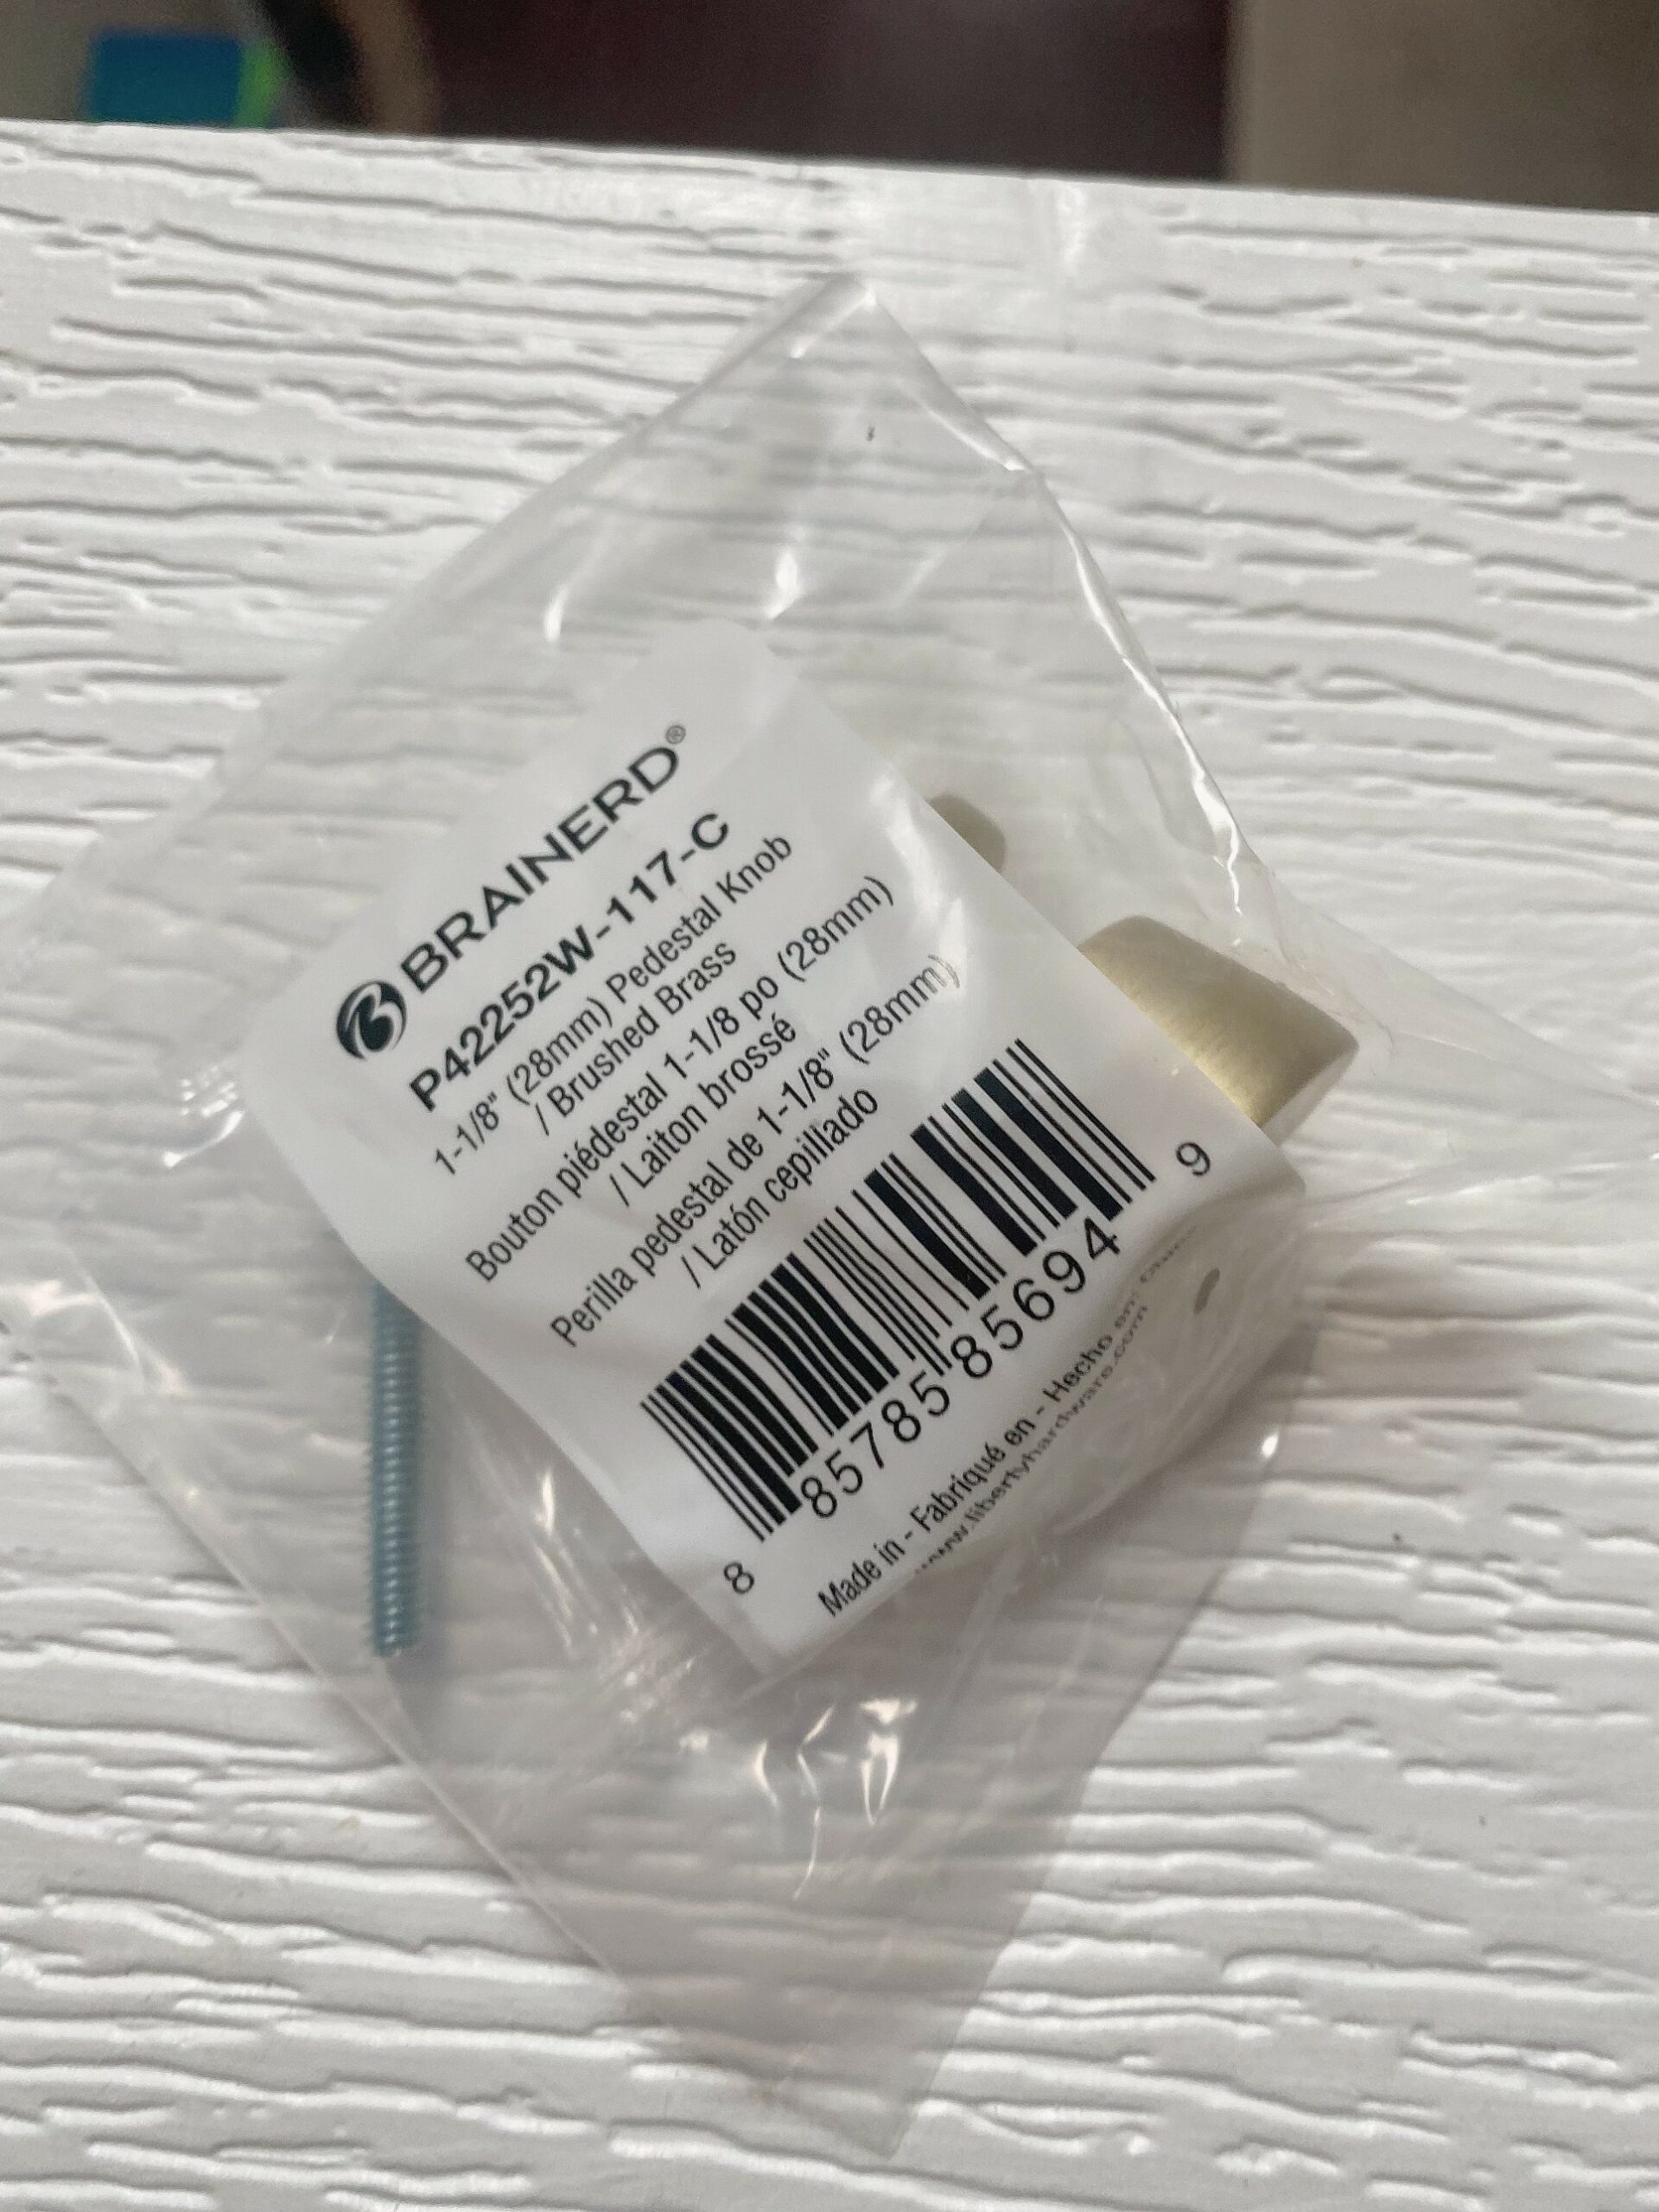
I bought the new hardware at Lowes for less than $4 each. They have slightly different options now but this Brainerd Brushed Brass Cabinet Knob is similar in price and style. I love the brushed brass color because of its modern flair. I went full-on mixed metals on the vanity (brass knobs and silver faucet) because I did not feel like changing out the faucet right now, and sometimes less “matchy matchy” is appealing to me because it makes a space look more interesting.
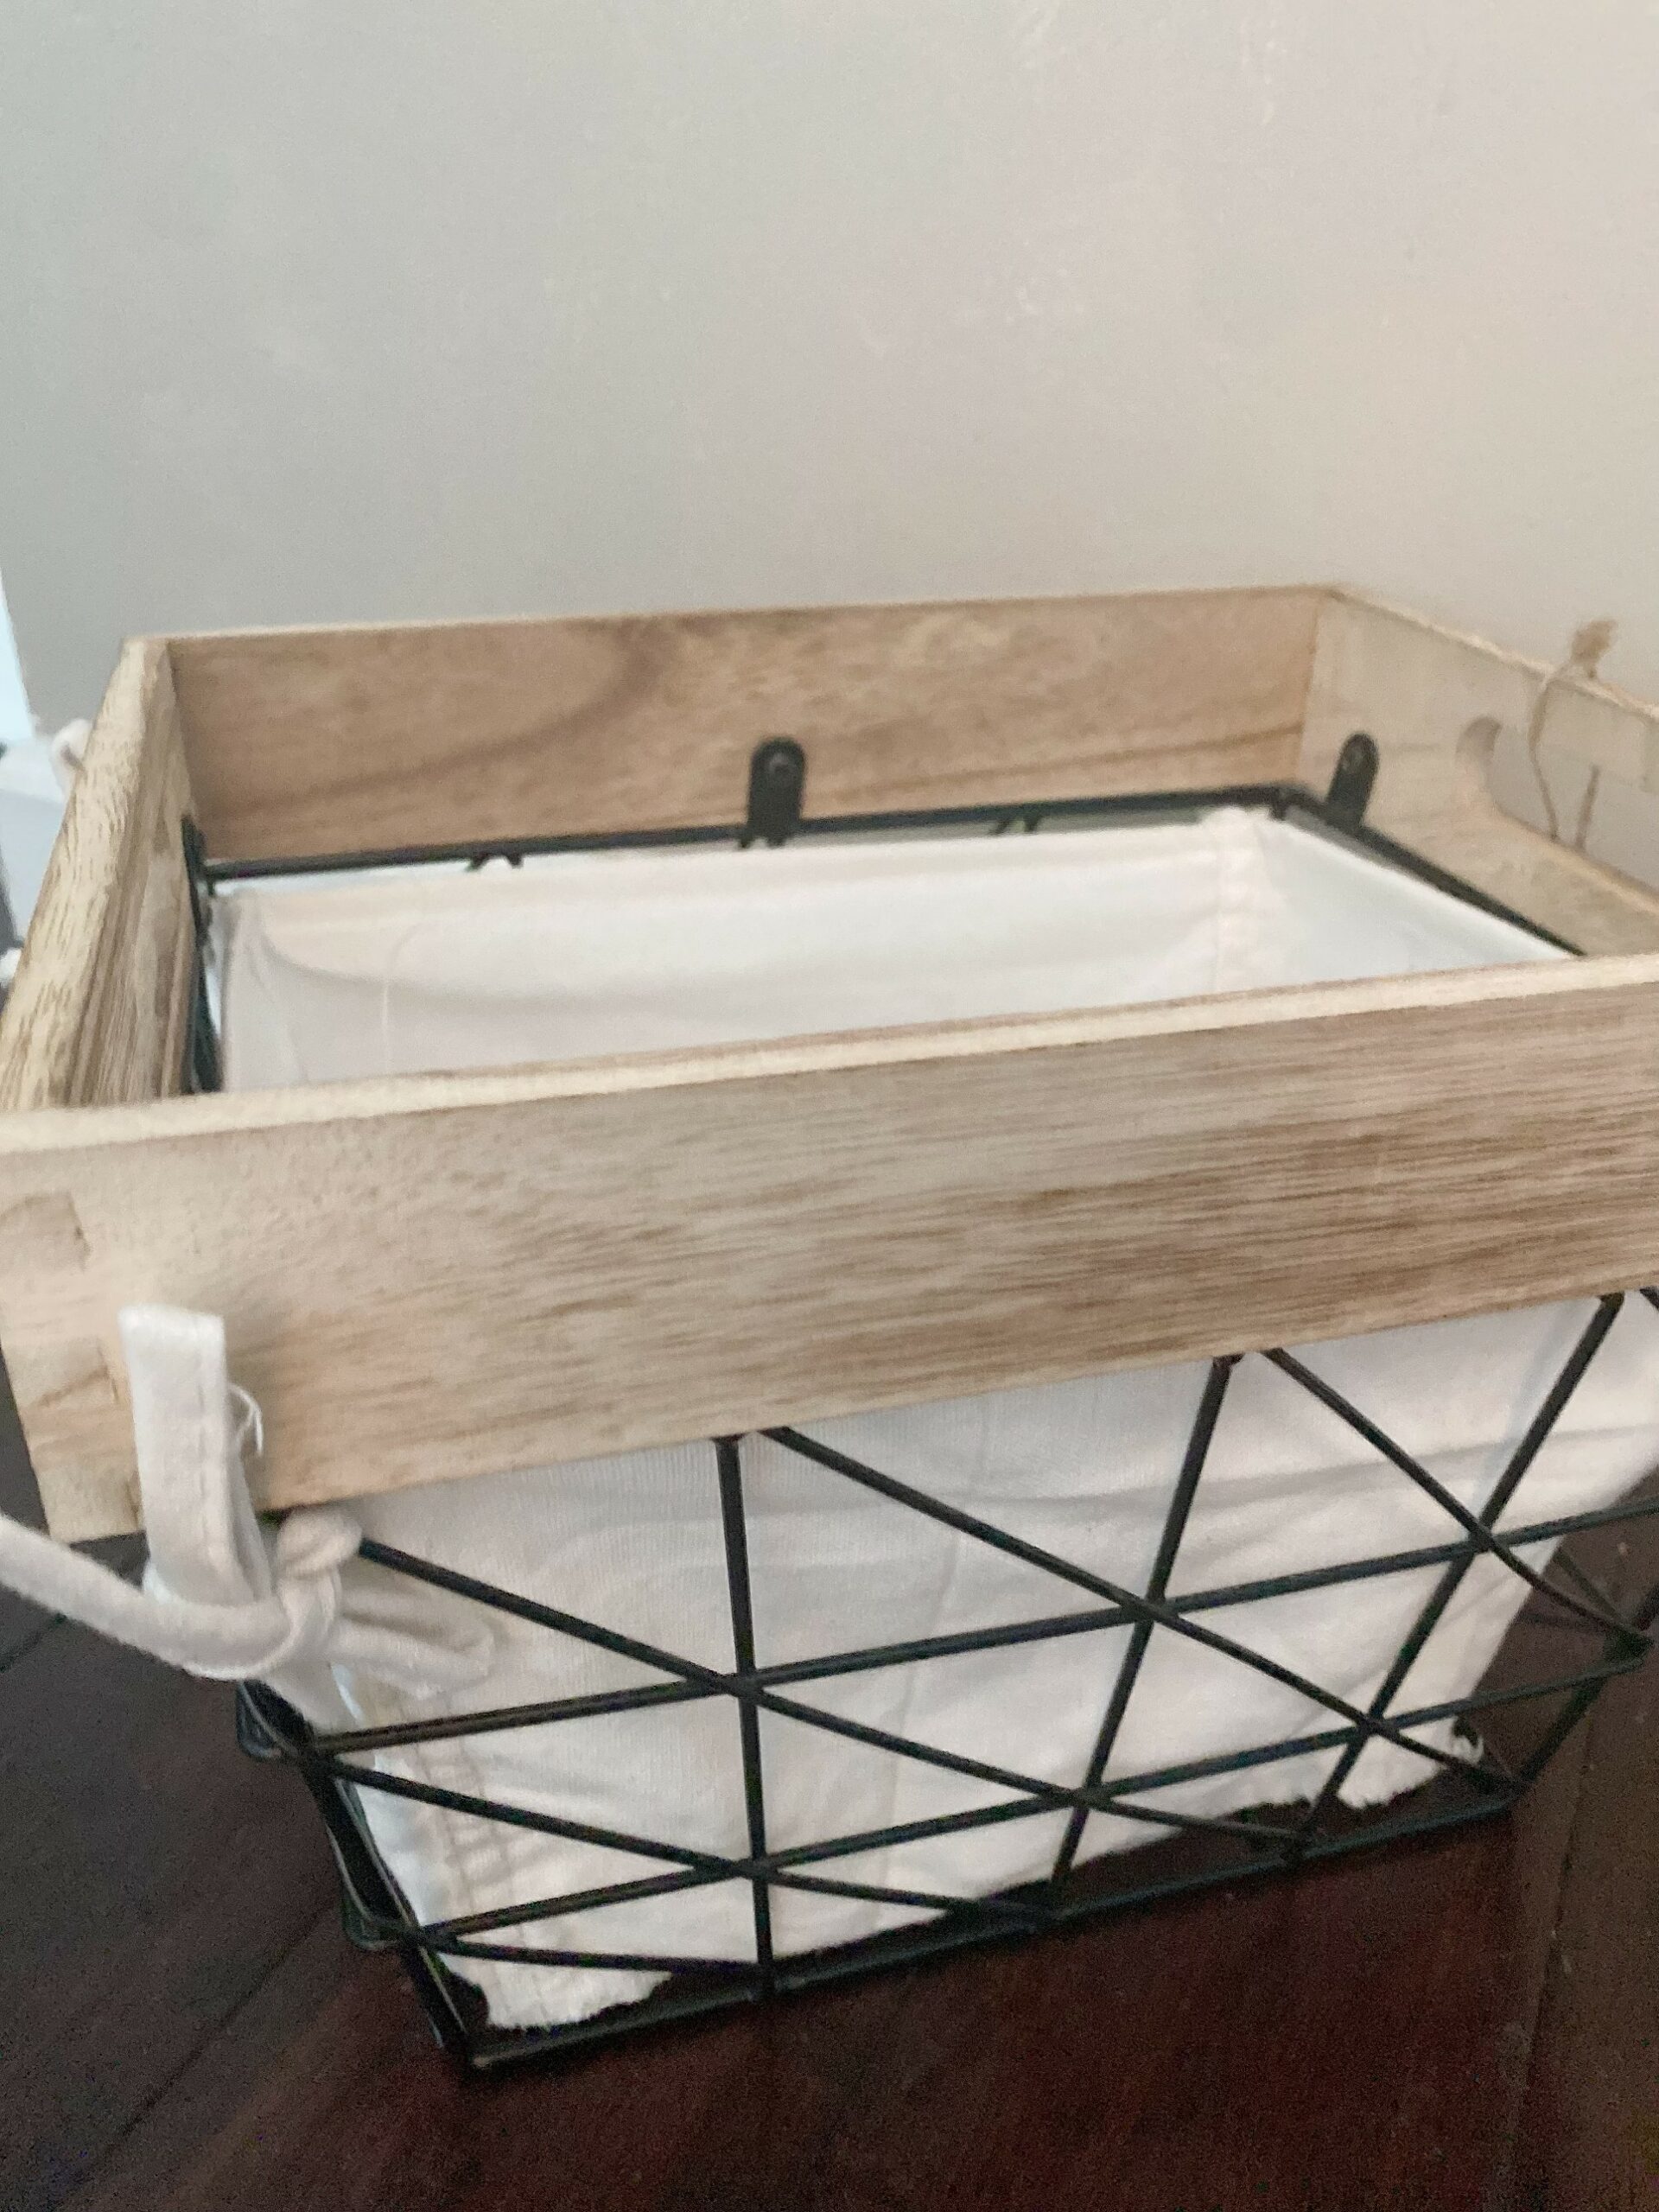
The baskets were purchased from Big Lots for $12 each, are nice and deep for washcloths and supplies, and so far have held up nicely! You can get a basket like this Small Black Wire Bin with Label for a look like this.
Note: My soap dispenser actually came from that fun bargain section when you first walk into Target. It looks great, but I will do plan to replace it with something more durable – it is made of a thin glass and that could break and shatter easily.
The Side-by-Side:
When you do improvements like this, be sure to take photos! This is your chance to enjoy your hard work before your family messes it up!
OK so what's next? It is so fun to have a project, and even better to enjoy the rewards of your hard work! Go back to Home and see some other fun ideas!
