Have an ugly door? Especially when it is in a prominent spot in your home, it can bring down the whole feel of a room. Luckily, there is an effective fix for that, and it is even a low-cost option! In terms of effort, it is about a medium on the scale, but completely doable! If you have a little patience, precision and time on a weekend, you can make that drab door look smart, refreshed and modern!
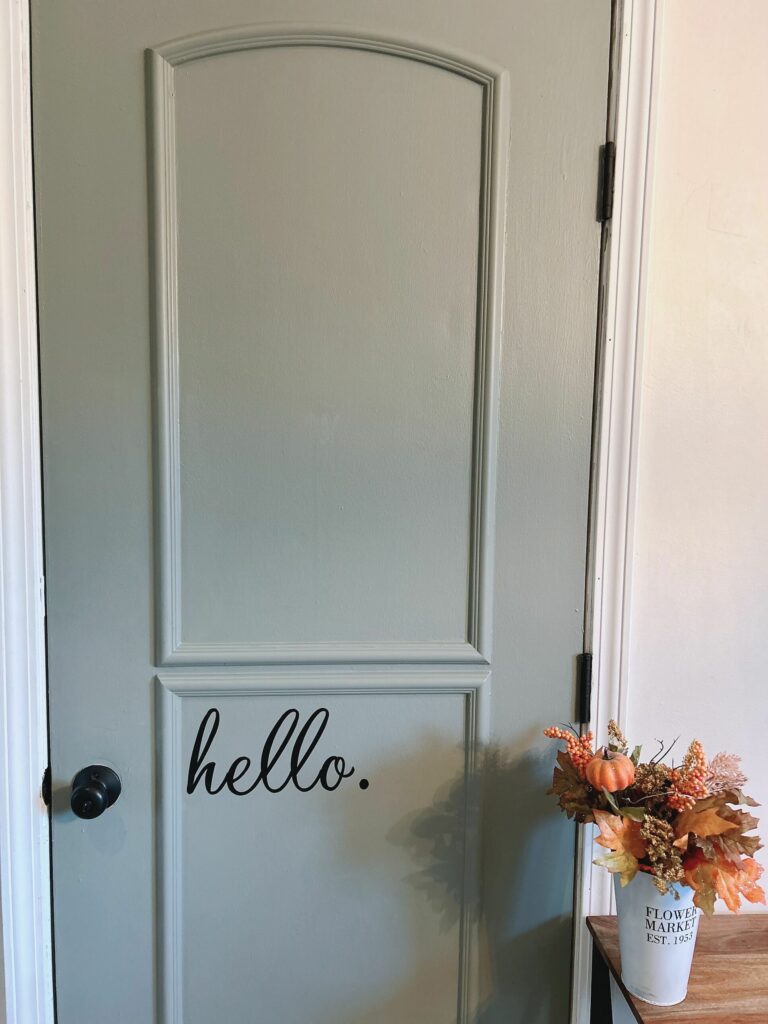
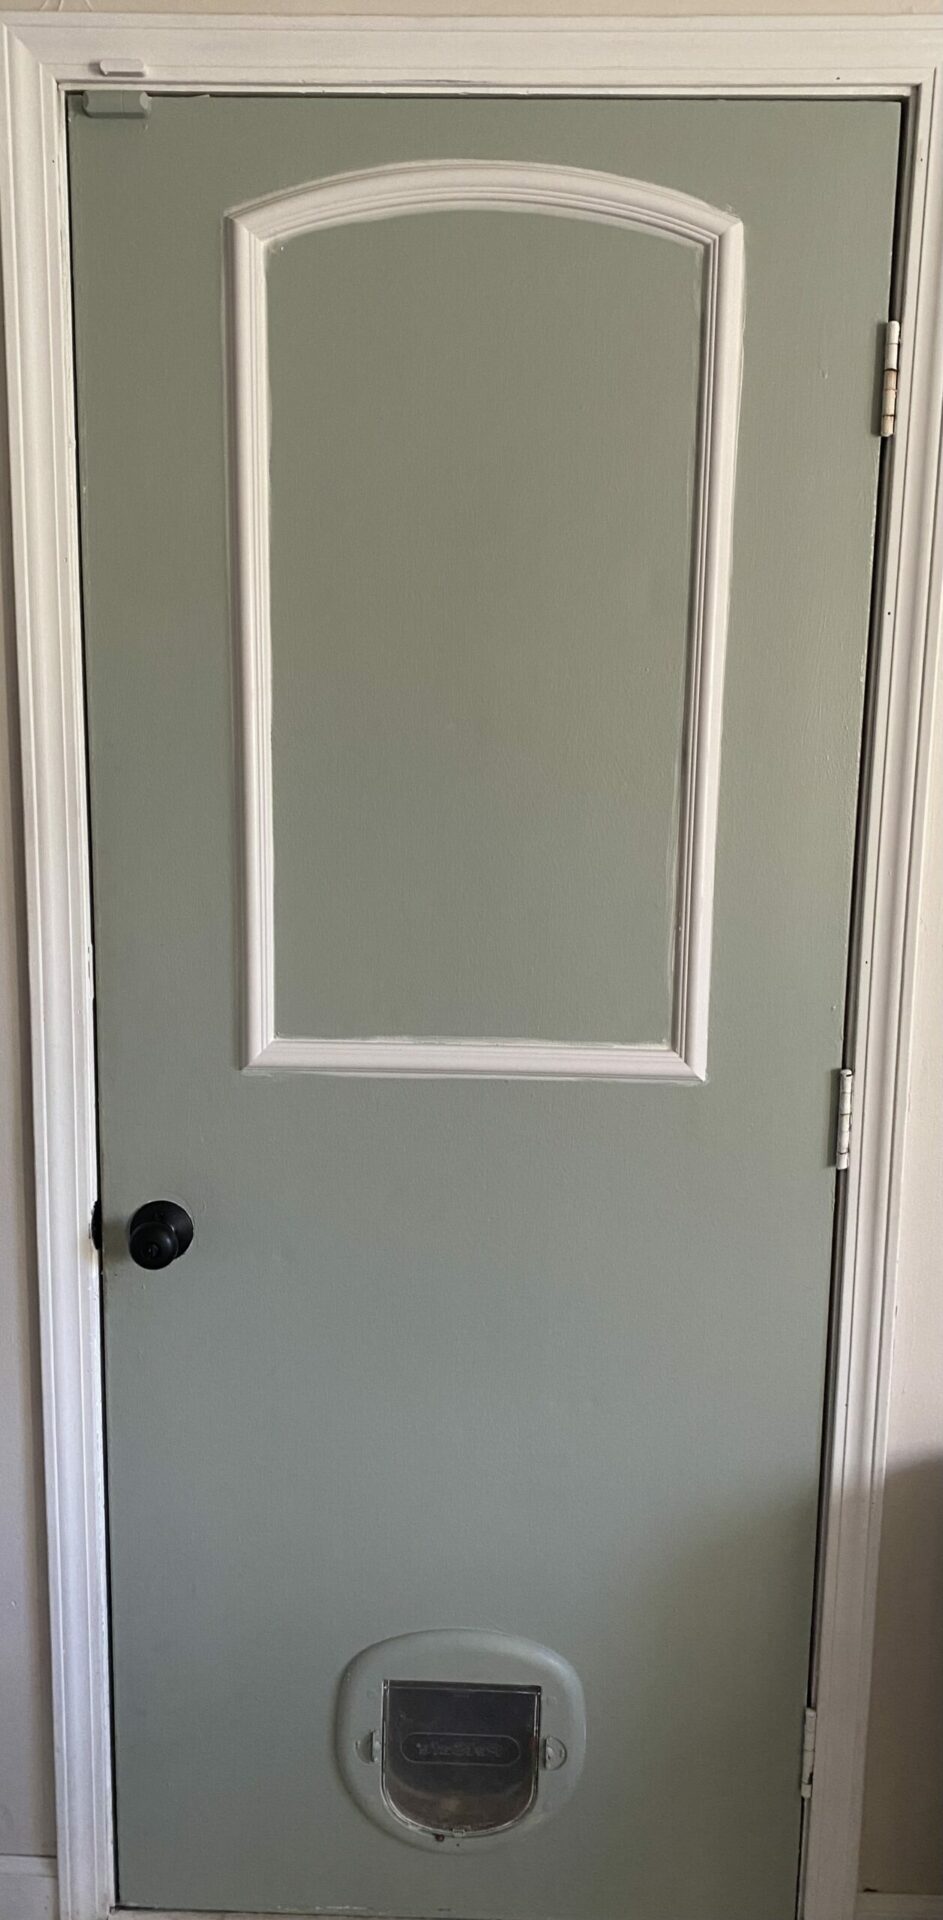
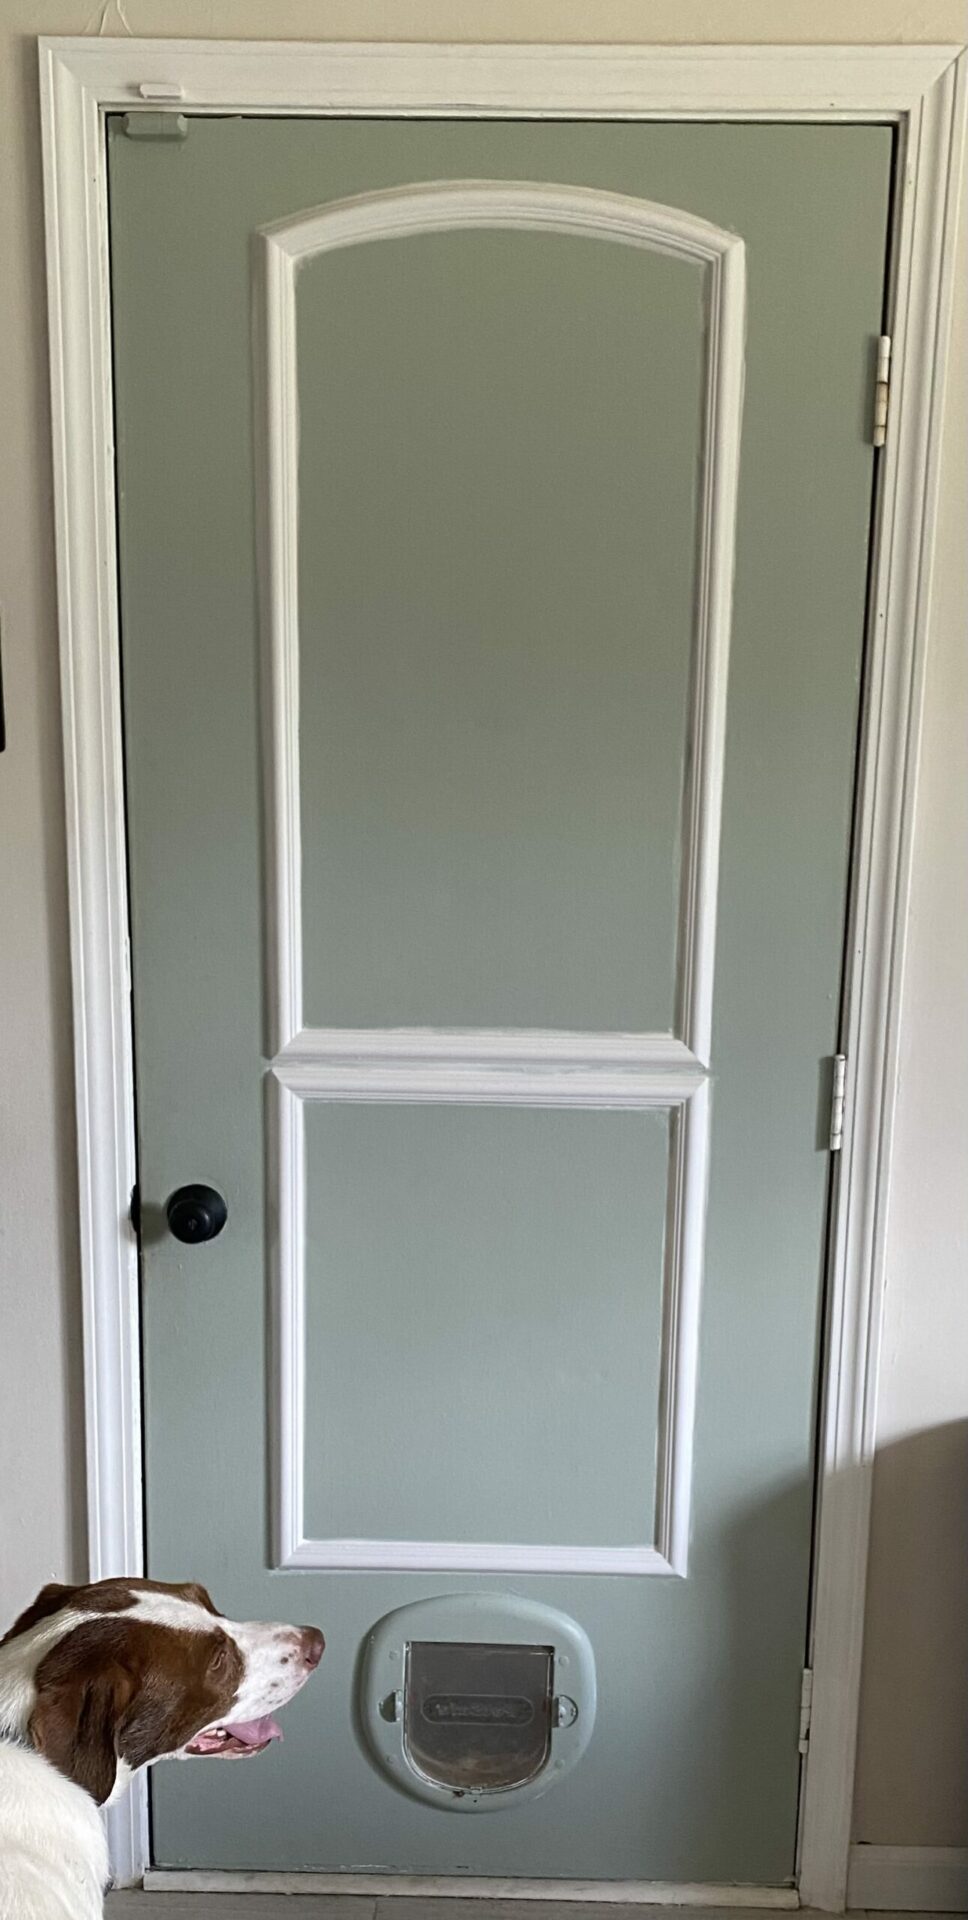
This door went from a dingy white to a weird light green (we all make mistakes) to a sophisticated grey with a decorative frame. A boring or ugly door may not matter in some rooms, but when it is front and center in the home it can be a big problem. For this upgrade we added easy DIY door framing, new paint, and a new doorknob. I totally cheated on the hinges because they were rusted in place, so I simply painted them carefully on their face with black chalkboard paint.
What I used for this “new” door easy upgrade:
- EZ-Door 28 in., 30 in. and 32 in. Width Interior Door Self-Adhering Decorative Frame Kit
- Benjamin Moore Natural in Cos Cob Stonewall
- MoharWall Hello Quotes Front Door Black Decal
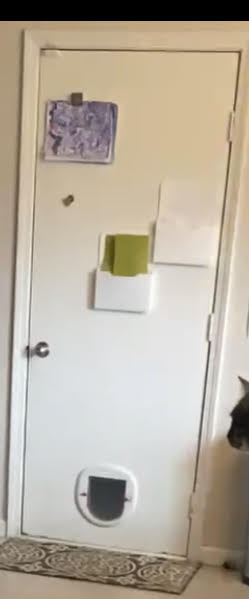
Now the details:
For just under $50, I purchased the Decorative Frame Kit from Home Depot. It had to be an online order, as our store did not carry it in stock. This is one of my favorite DIY kits I have ever purchased! It was just a little fun, easy to do, and it really worked! The best part is that I love the finished look. Just follow the directions, which I sort of did, and make sure to line up the frames the way you want them and adhere/caulk them securely before you paint. If you are a perfectionist, you will need to take some time to line the upper and lower frames just right. We had to take some liberties because of our cat door, and therefore placed the frames closer than recommended.
The Benjamin Moore paint I used has a nice eggshell finish and went on perfectly. The paint is an extremely gentle paint that I had paid a premium for when redoing my son’s room, and I had some left over. This is a great paint, especially if you have allergies in the household, as it is Certified Asthma and Allergy Friendly. When painting the new frame, use care so that you don’t get drip marks coming from the frame areas.
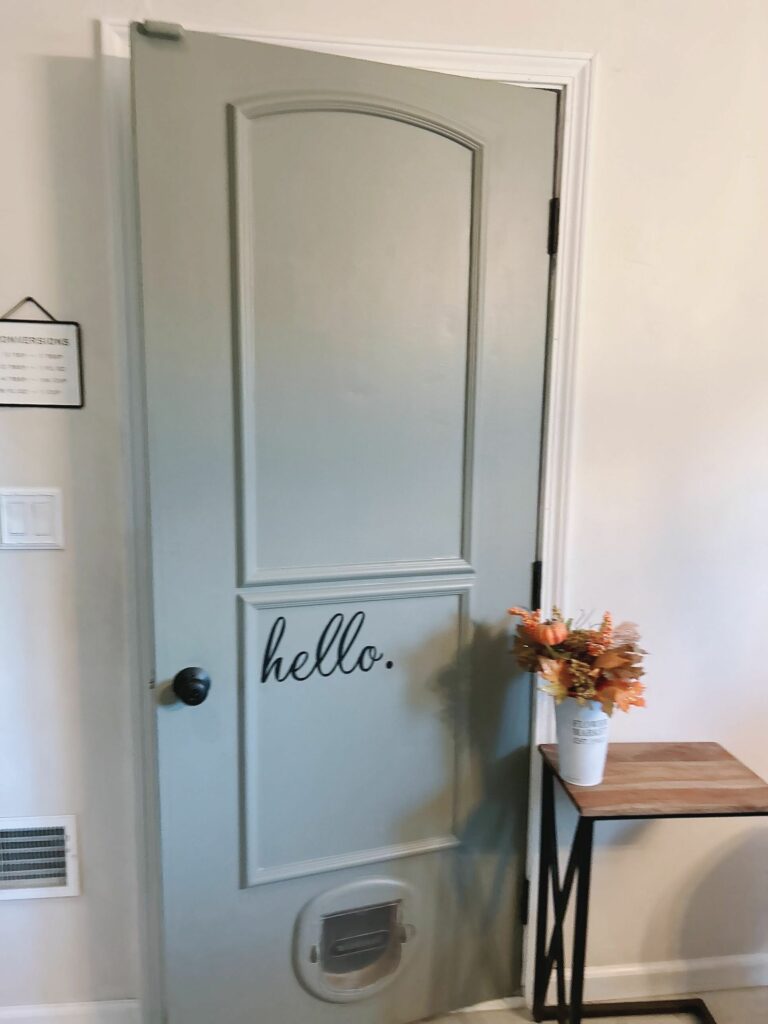
Details matter, so a new-looking door needed new hardware. In a bizarre decision, I switched out the hardware before painting the door which made no sense! But either way, I switched the dated silver doorknob off and upgrading to black. The black works just right with the grey, and the bright white frame makes it pop. This has become one of my favorite doors in the house, and despite regular slamming and bumping from the family, the frame is holding strong!
The final touch is the Hello decal which I ordered from Amazon for less than $10. It is important to follow the manufacturer’s instructions and really smooth these decals down, but once you have one on it doesn’t budge. I used a credit card and worked my way across one letter at a time.
I now have a great door that doesn’t make me cringe every time I look at it, and it didn’t break the bank or my back!
OK so what's next? It is so fun to have a project, and even better to enjoy the rewards of your hard work! Go back to Home and see some other fun ideas!

